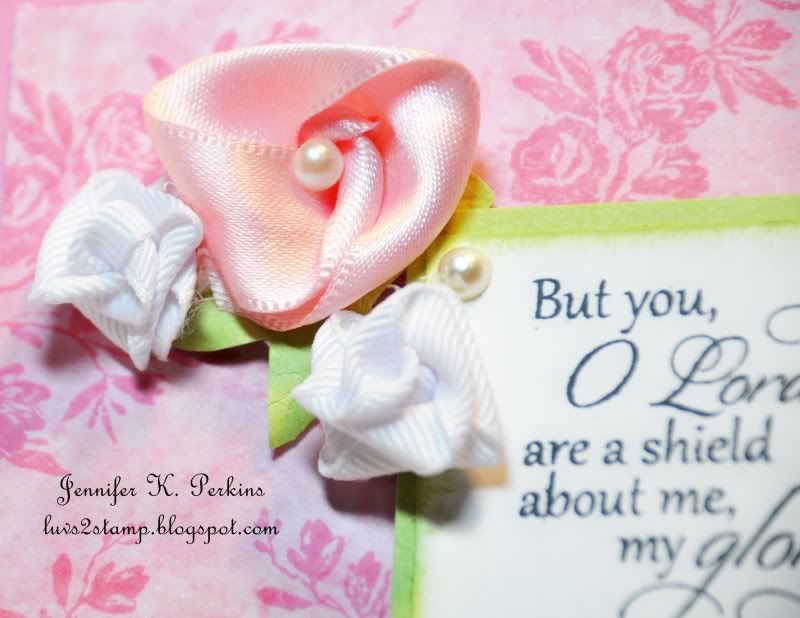
Thread a needle with matching thread, knot the bottom, and set aside.
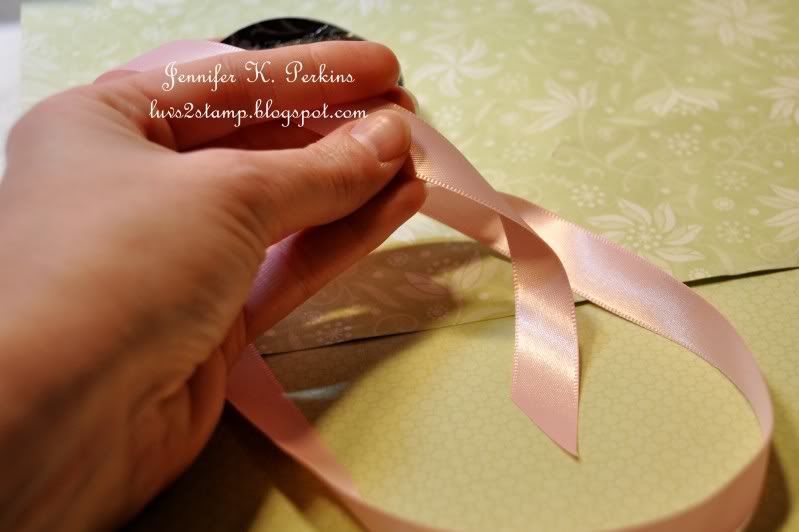
Unroll about 12" of ribbon. You can work with it still attached to the roll to conserve ribbon.
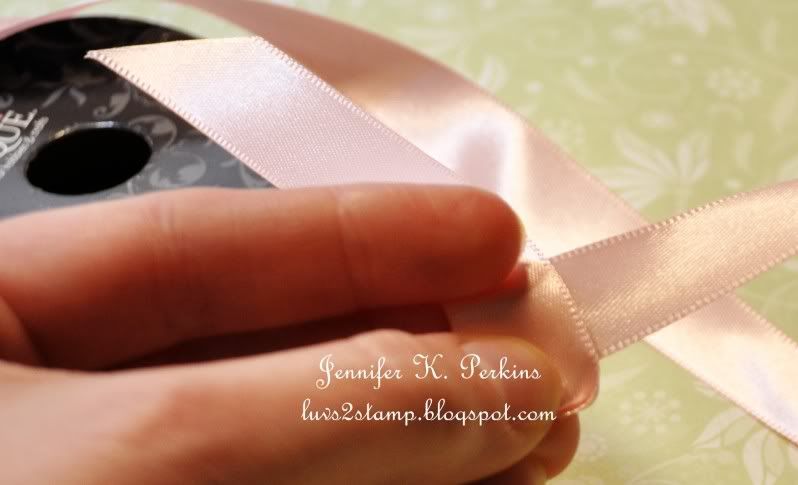
About 6" in, fold the ribbon at a 45° angle. It should look like an L.
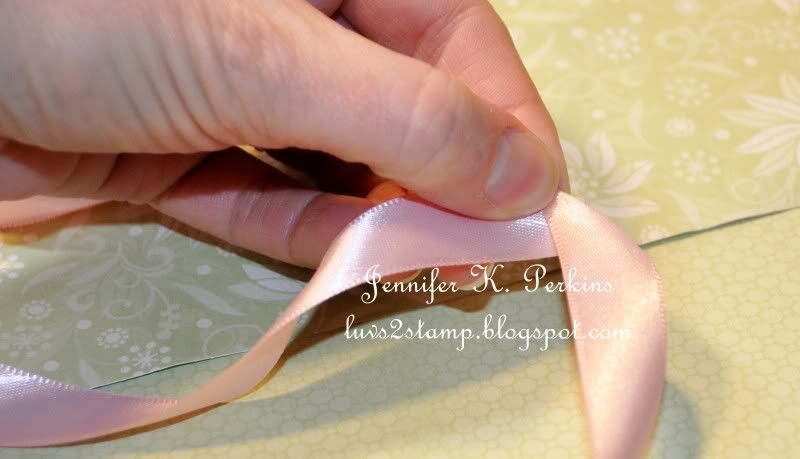
Next, fold the other side of the ribbon across the middle, again in a 45° angle.
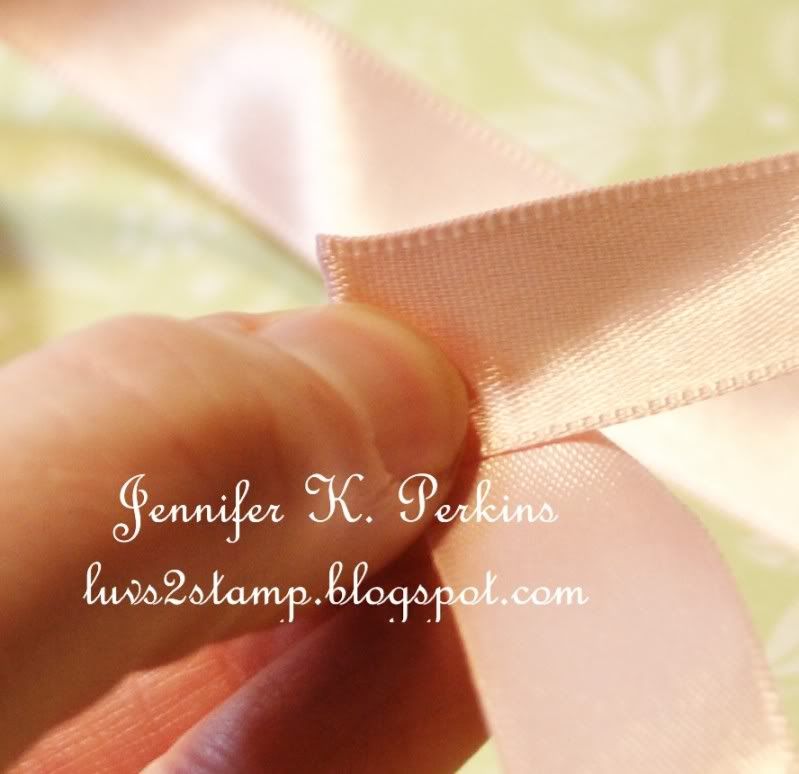
Continue folding the ribbons across each other until you come to the end of cut side of the ribbon.
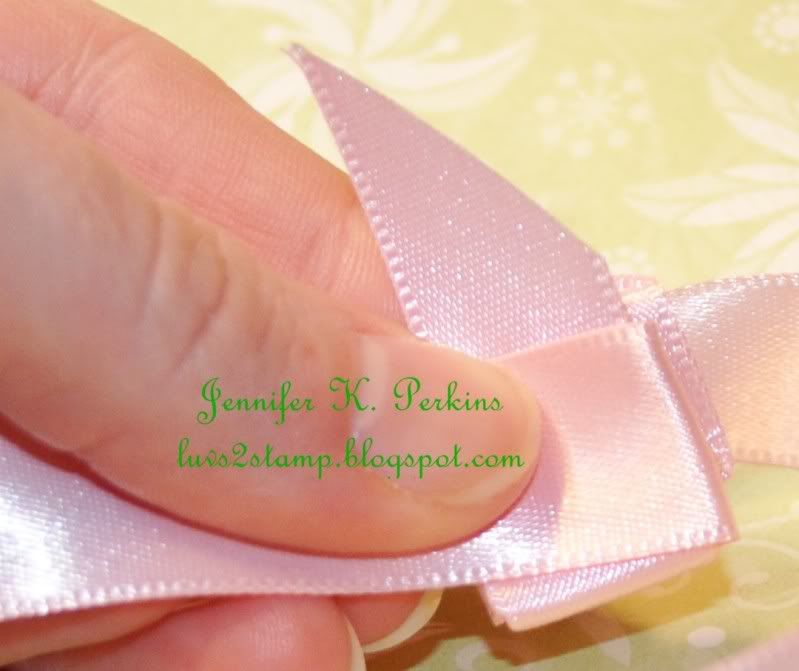
Here is the other side of the folded ribbon.

And the side view.
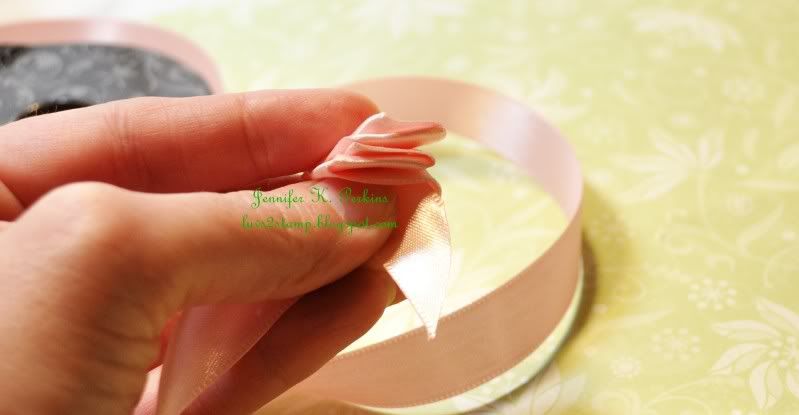

Grasp the ribbon with your thumb in up in the corner of the ends of the ribbon folds, with the short end on top.
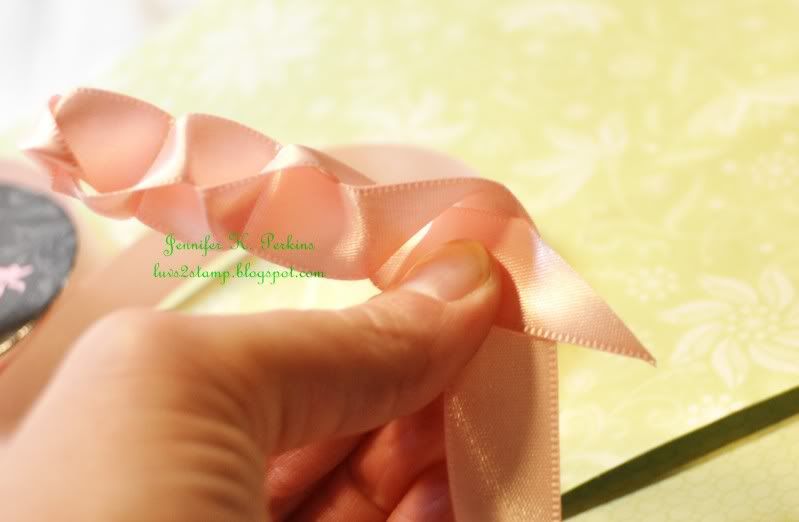
Grasp the long end of the ribbon with your other hand.
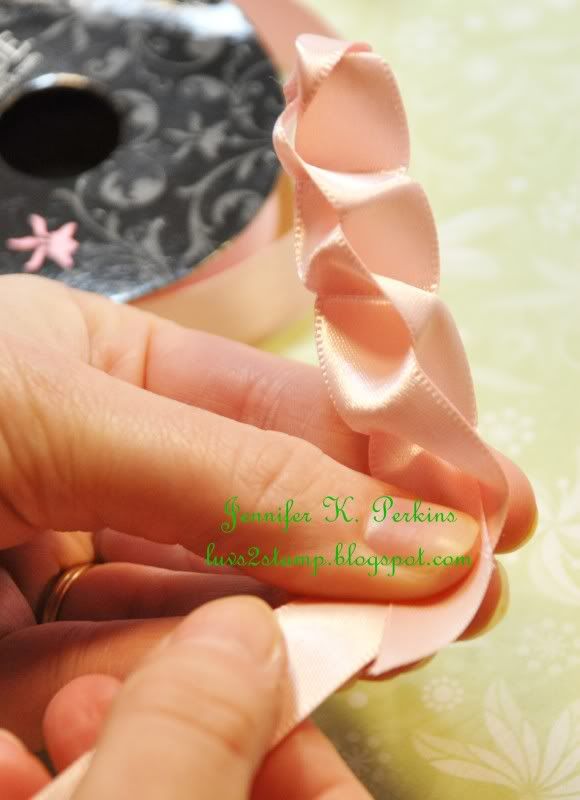
Pull the long end of the ribbon, while holding the short end in place.
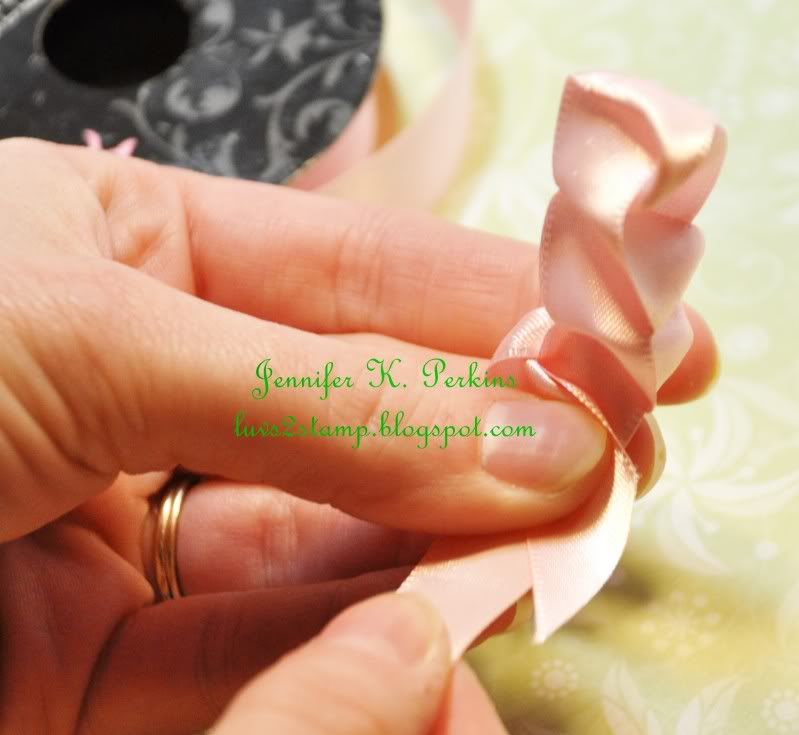
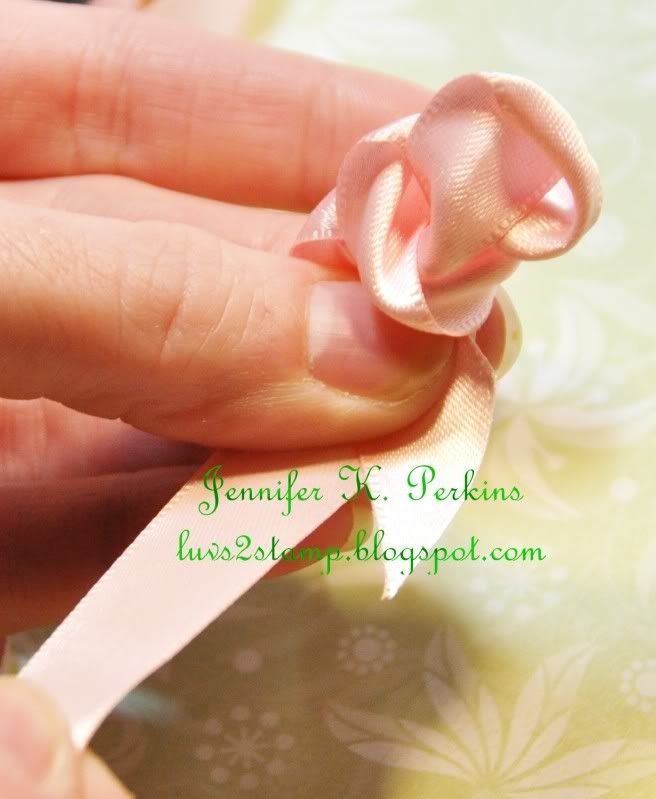
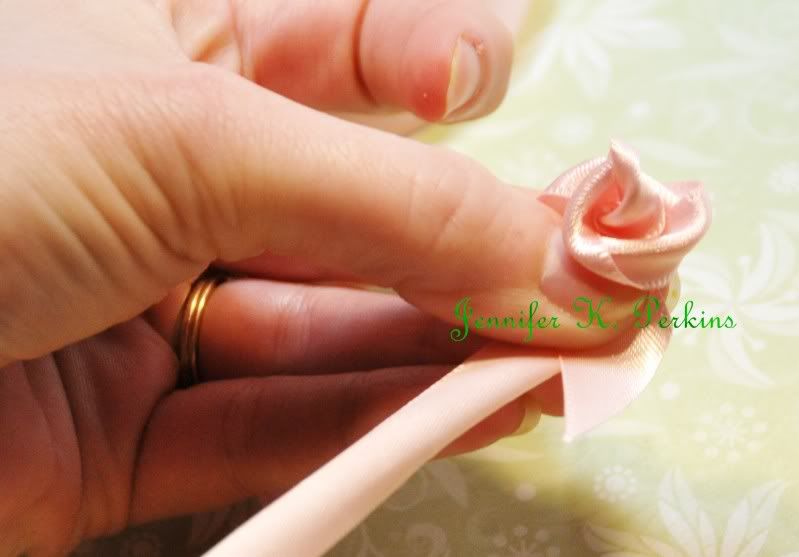
Insert your needle into the middle of your ribbon flower and draw from top to bottom.
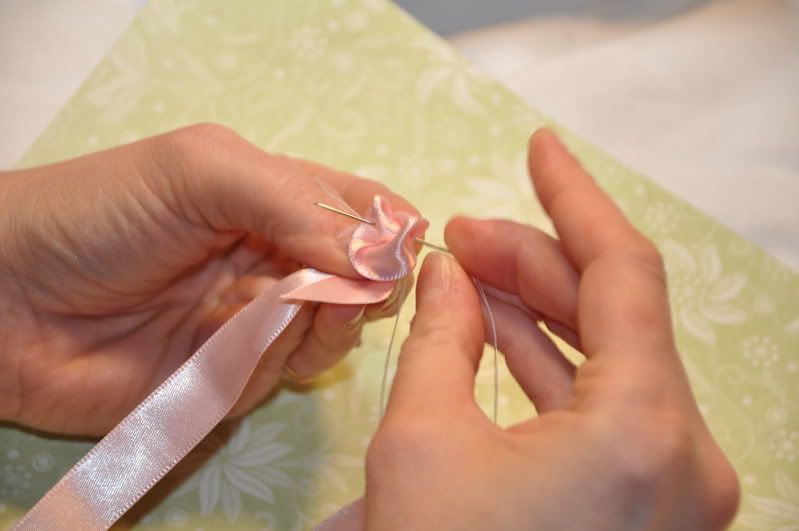
Continue stitching through your flower for several stitches, bottom to top, then top to bottom, being careful to catch all the folds of the flower to secure it.
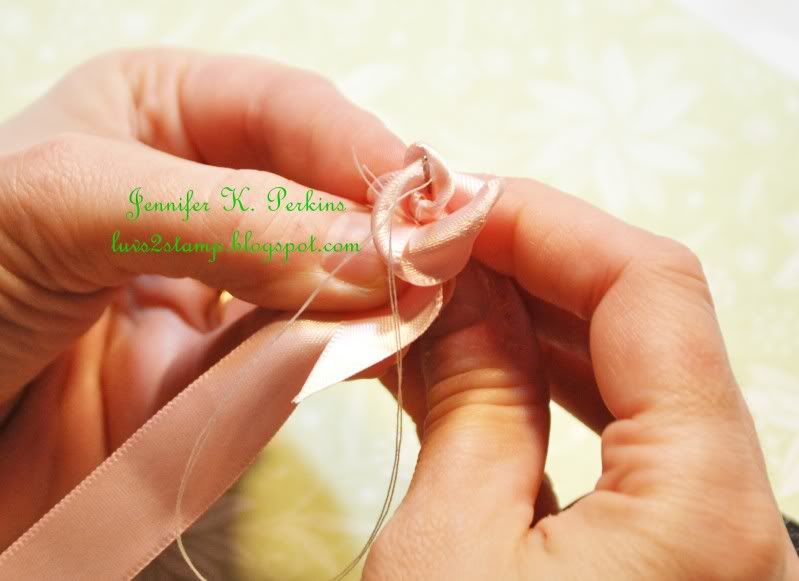
End on the bottom of the flower. Knot thread and clip off the ends.
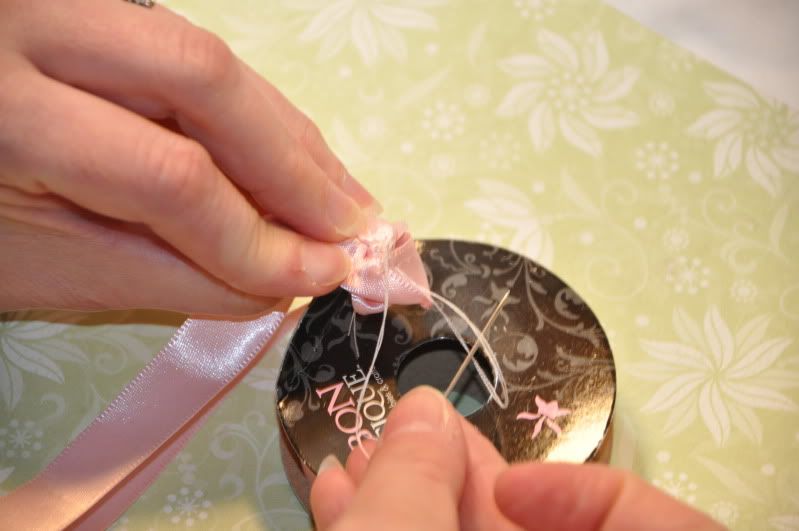
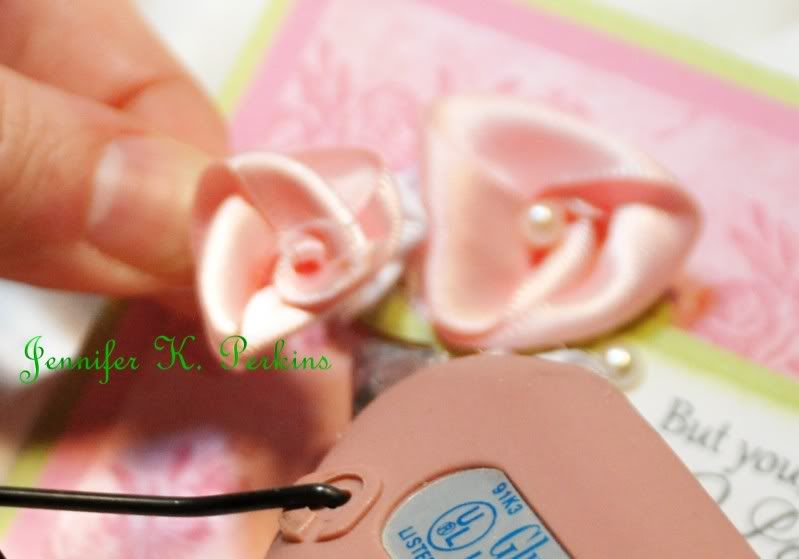
Secure to project. (I use hot glue.)








3 comments:
Thank you for a wonderful tutorial!
I like your way of doing these roses, I think you do get a better looking flower by pre rolling the edges down, at least yours looks better than mine:) I will have to try the adding of adhesive 1/2" from the end too. .
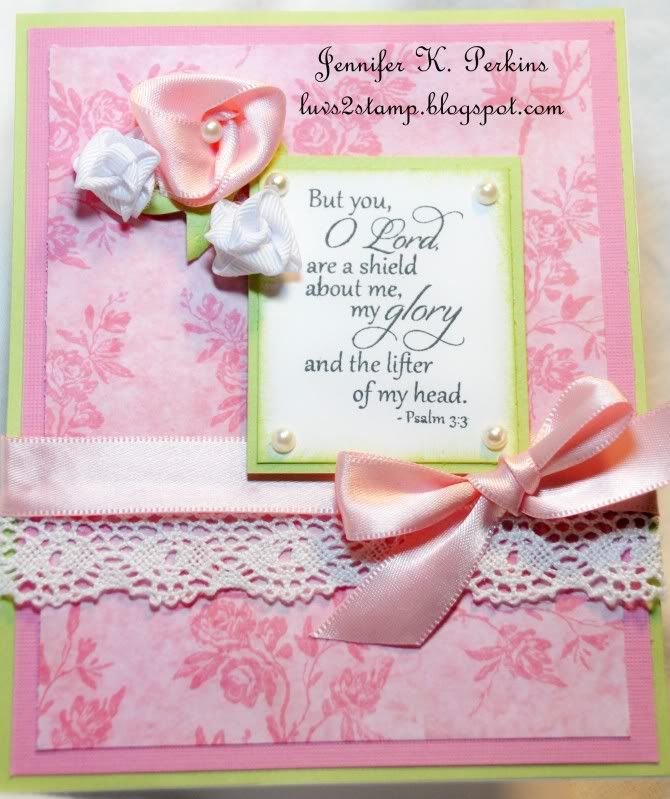
Another beautiful card!! I love these roses too!! Thanks for the detailed tutorial!!
Post a Comment