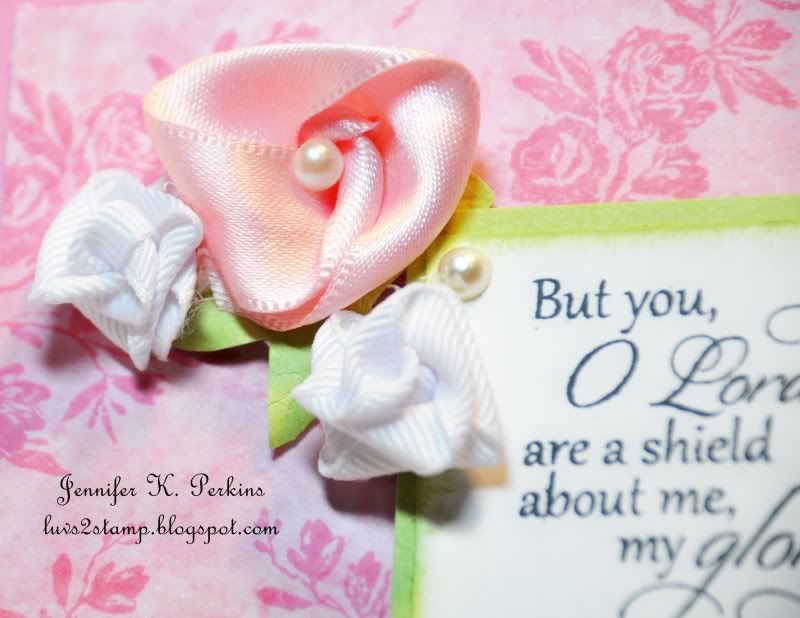
text
Thanks for looking and if you have time, I LOVE your comments!
Have a great day, and happy crafting. ~Jennifer
Tuesday, September 27, 2011
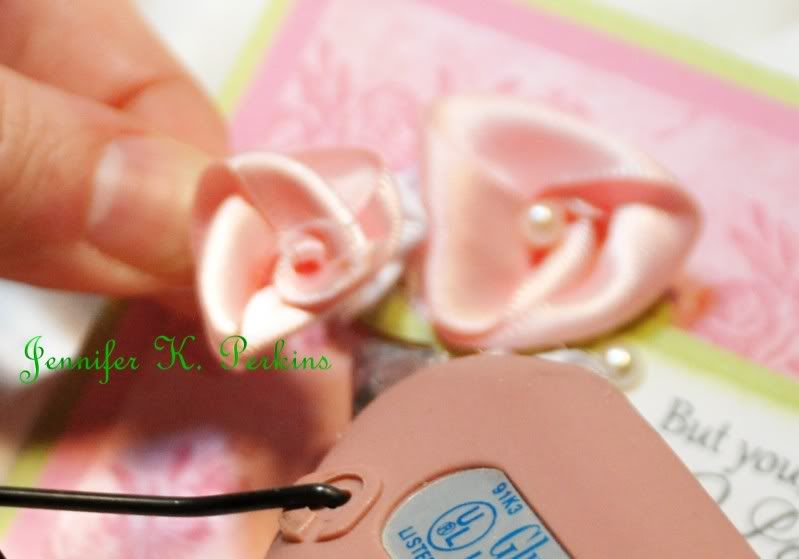
Repost: Easy Folded Rose Tutorial
Thread a needle with matching thread, knot the bottom, and set aside.
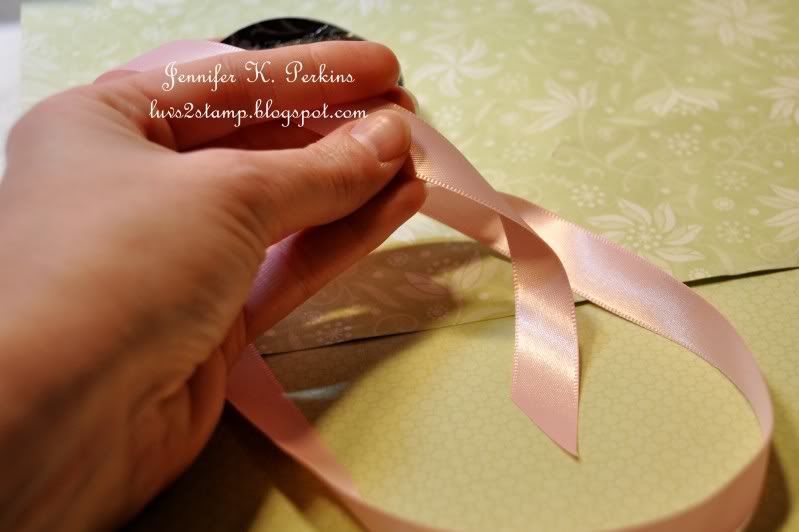
Unroll about 12" of ribbon. You can work with it still attached to the roll to conserve ribbon.
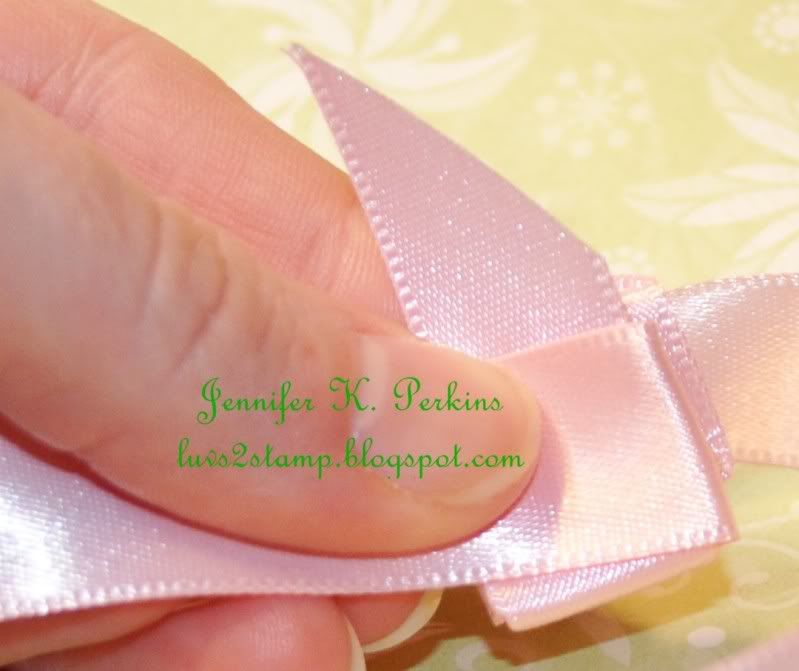
About 6" in, fold the ribbon at a 45° angle. It should look like an L.
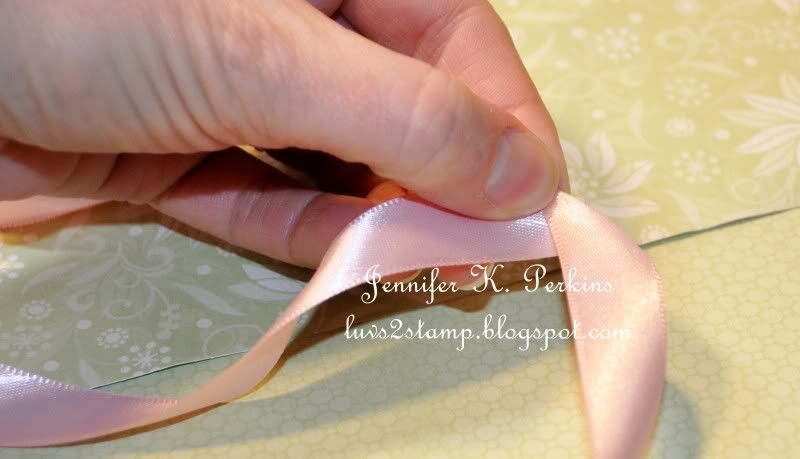
Next, fold the other side of the ribbon across the middle, again in a 45° angle.
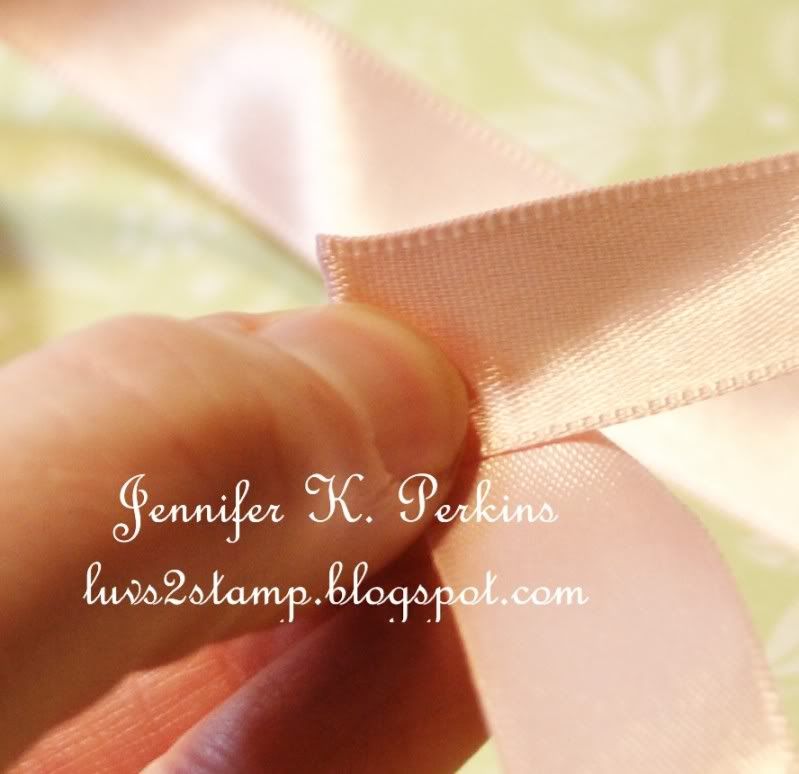
Continue folding the ribbons across each other until you come to the end of cut side of the ribbon.
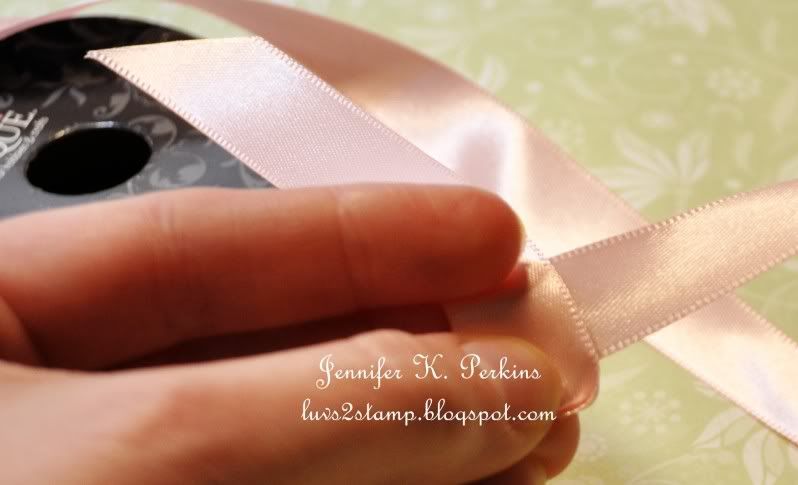
Here is the other side of the folded ribbon.
And the side view.
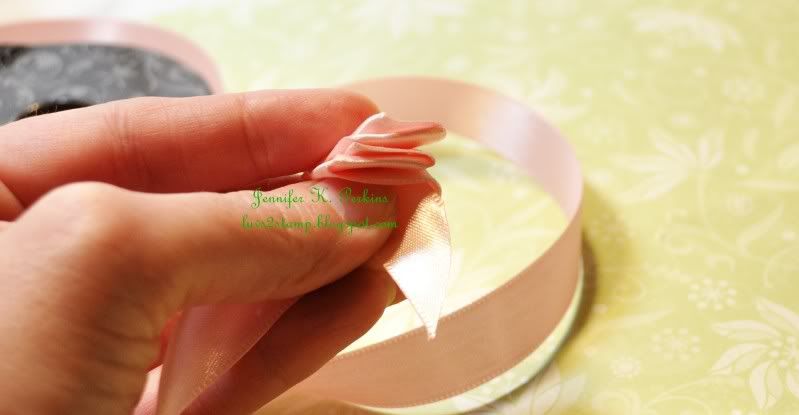
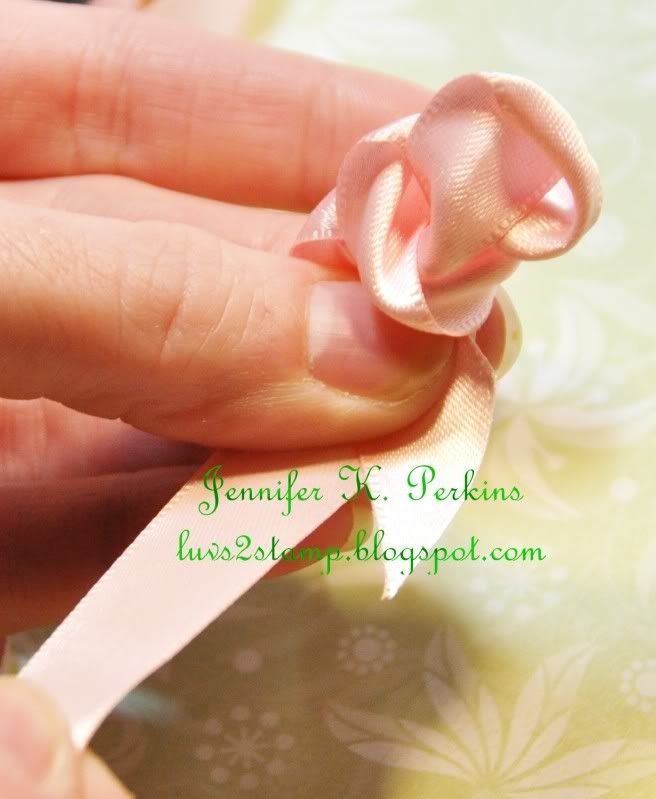
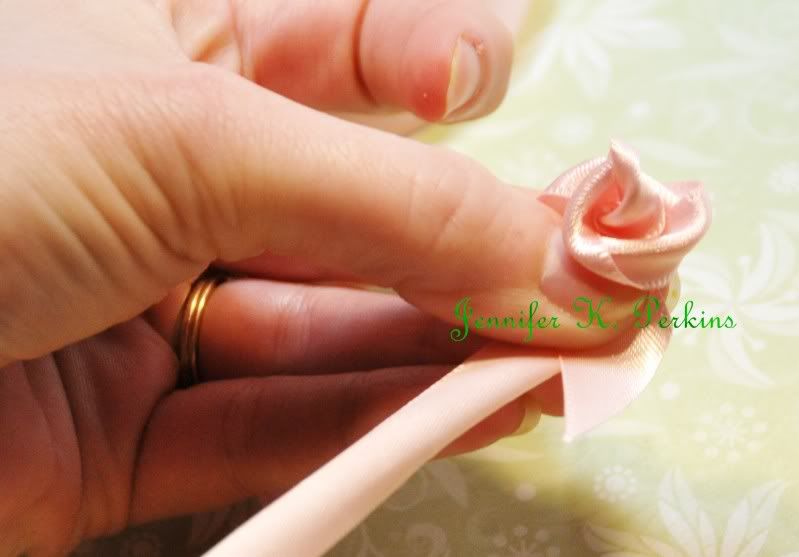
Grasp the ribbon with your thumb in up in the corner of the ends of the ribbon folds, with the short end on top.
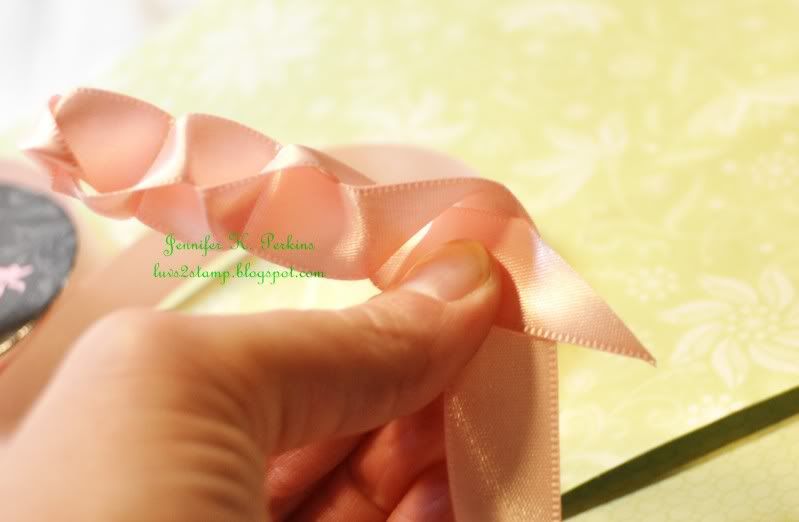
Grasp the long end of the ribbon with your other hand.
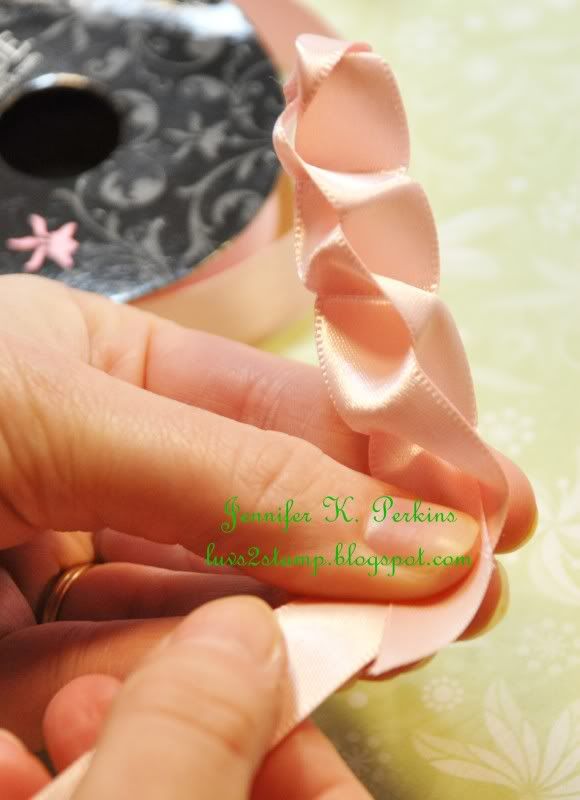
Pull the long end of the ribbon, while holding the short end in place.
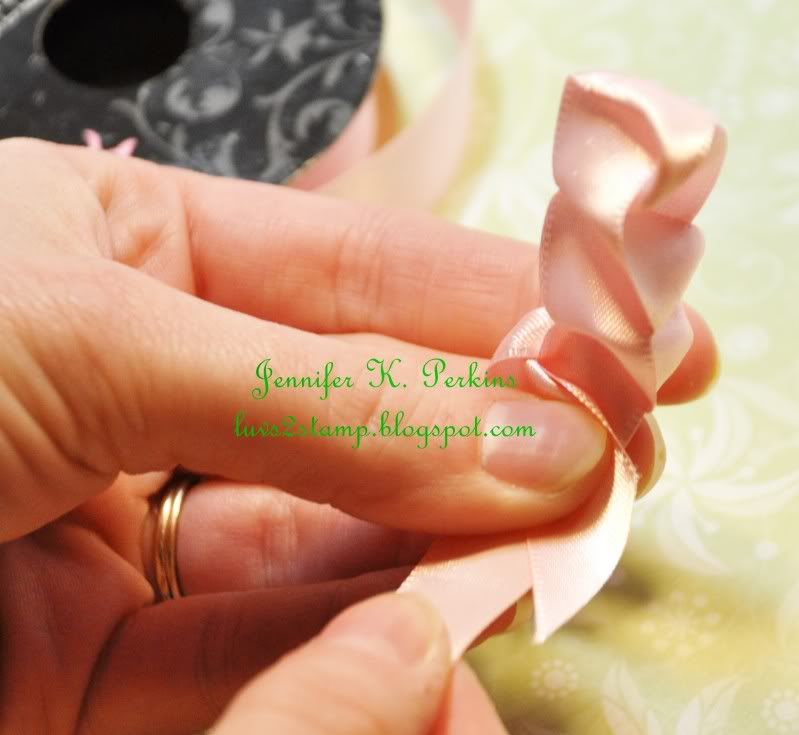
Insert your needle into the middle of your ribbon flower and draw from top to bottom.
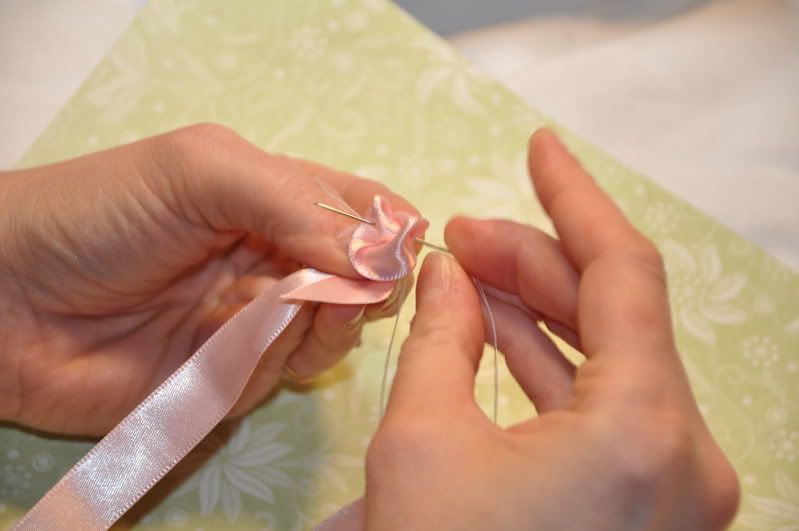
Continue stitching through your flower for several stitches, bottom to top, then top to bottom, being careful to catch all the folds of the flower to secure it.
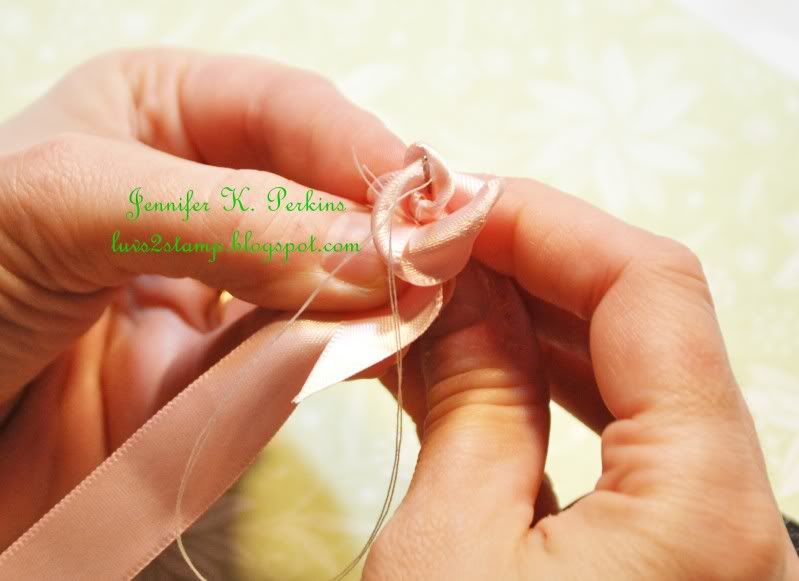
End on the bottom of the flower. Knot thread and clip off the ends.
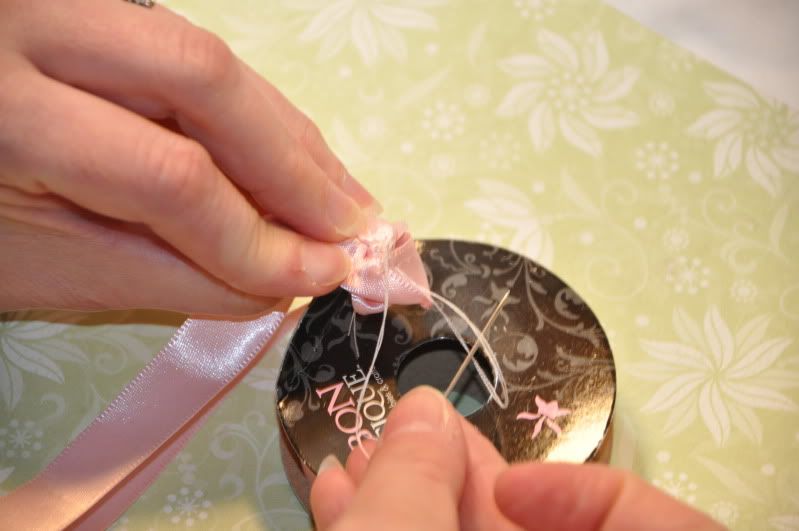
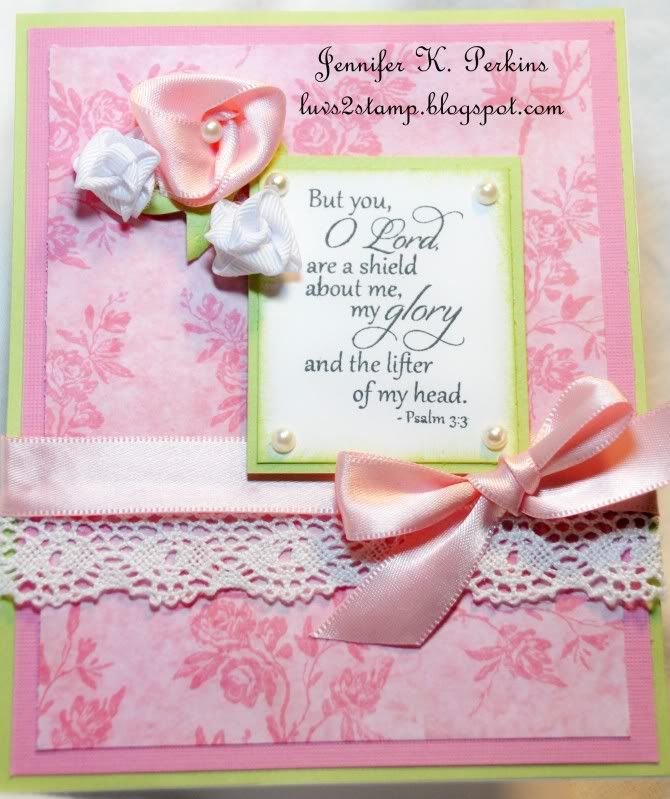
Secure to project. (I use hot glue.)
Repost: Paper Rose Tutorial + Glimmer Mist Recipe
I've finally found directions for paper roses that are EASY and FUN to create! I just started making these yesterday, and already feel like a pro. I hope I can share the directions with you well enough for you to make them as well!
Begin with a square piece of paper. The little flowers were made with 4" x 4" paper. The large rose was made with an 8" x 8" sheet.
Cut the edges off so that it makes a circle.
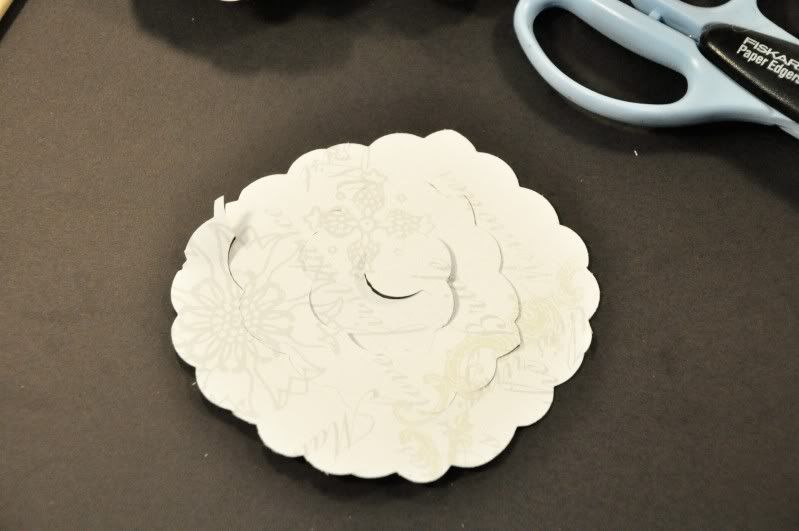
Starting from the outside of your paper circle, cut into a spiral. When finished, it should look like this:
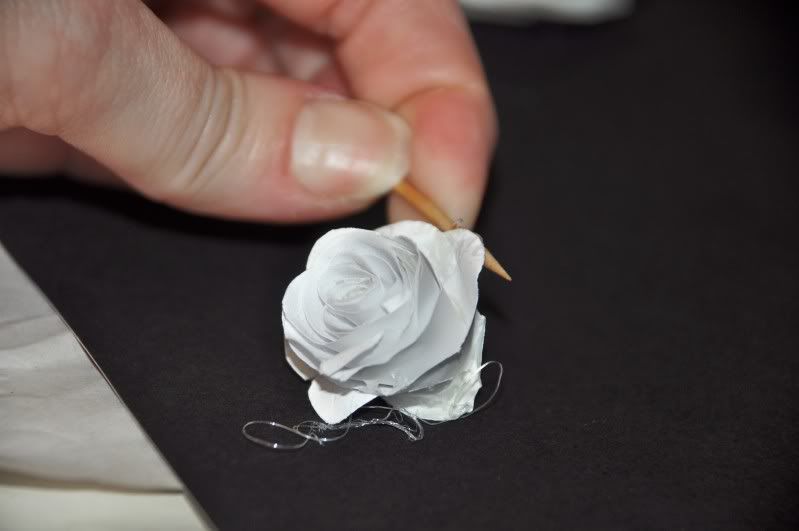
Though this picture shows me rolling the edges of the flower after I have glued it down, I have found it is easier to roll the edges of your spiral before you begin rolling. ~Use your toothpick to help you roll the edges of your flower down.
Starting at the outside edge, begin rolling towards the middle. A toothpick works great to get you started. I've also found that placing a bit of monoadhesive about 1/2" from the end will help hold the center of the flower tight. My flowers look better since I started doing this.
(The picture shows me using a skewer to roll... it turned out to be too big!)
Continue rolling until you reach the center of your circle.
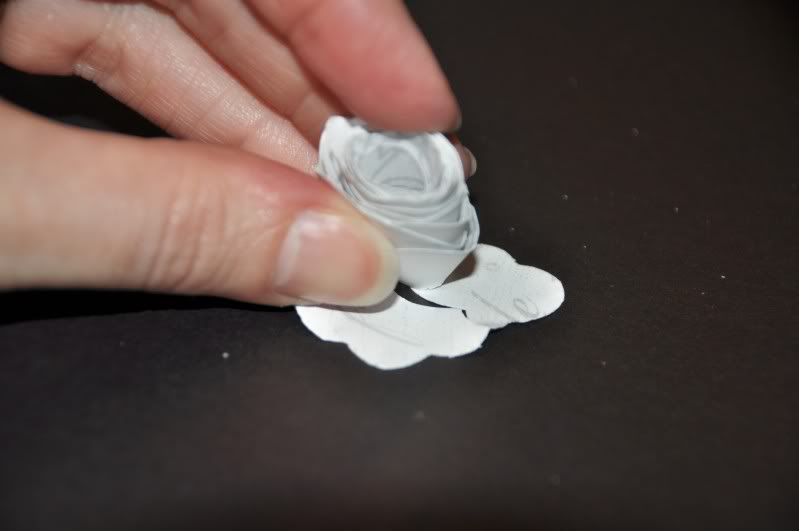
Still holding onto your flower, flip the end up and squirt glue into the center of the bottom of the flower.
Press quickly to the center of the circle and allow the ends to unroll slightly. Add more glue as needed to hold the desired shape.
You're finished! Add your color and bling or use as is to decorate your cards!
Well... I couldn't stop with JUST paper roses! They needed a little bling. Here is a recipe for home made glimmer mist:
Glimmer mist
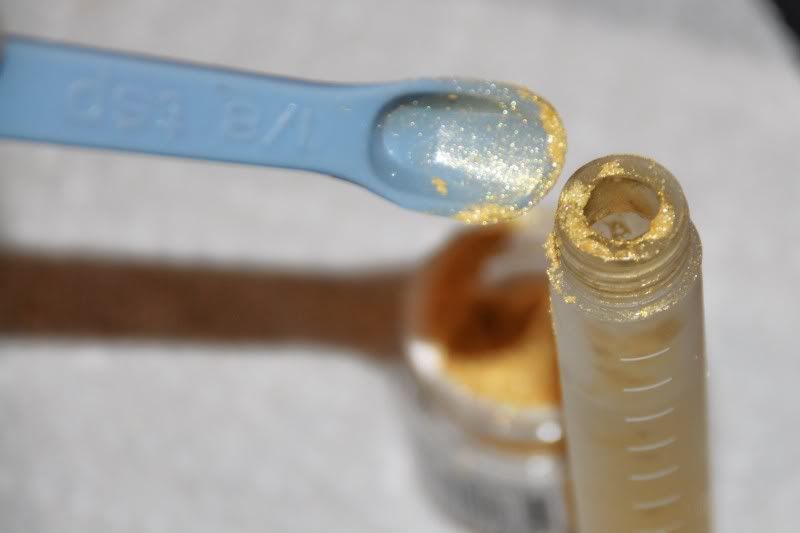
1. Fill CTMH spritzer 3/4 way with water.
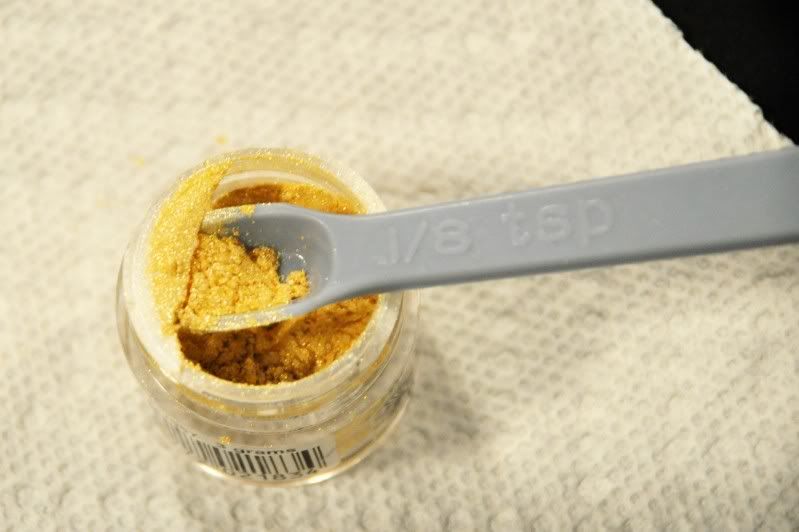
2. Add about 1/16 of a teaspoon of pearl ex.
3. Add 2-3 drops of glue.
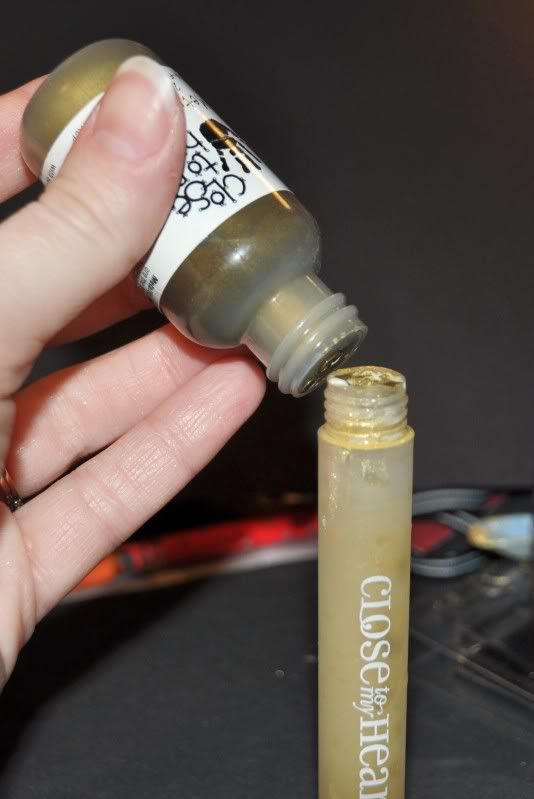
4. Add 3-4 drops of reinker (or more to reach your desired shade)
5. Shake well.
6. Spray!
Subscribe to:
Posts (Atom)