text


Thanks for looking and if you have time, I LOVE your comments!
Have a great day, and happy crafting. ~Jennifer

background

email text


Follow me by email:

ETSY

Enchanted Dreams

Friday, June 15, 2012

Update: Finished project - Little Darlings Mini Chest


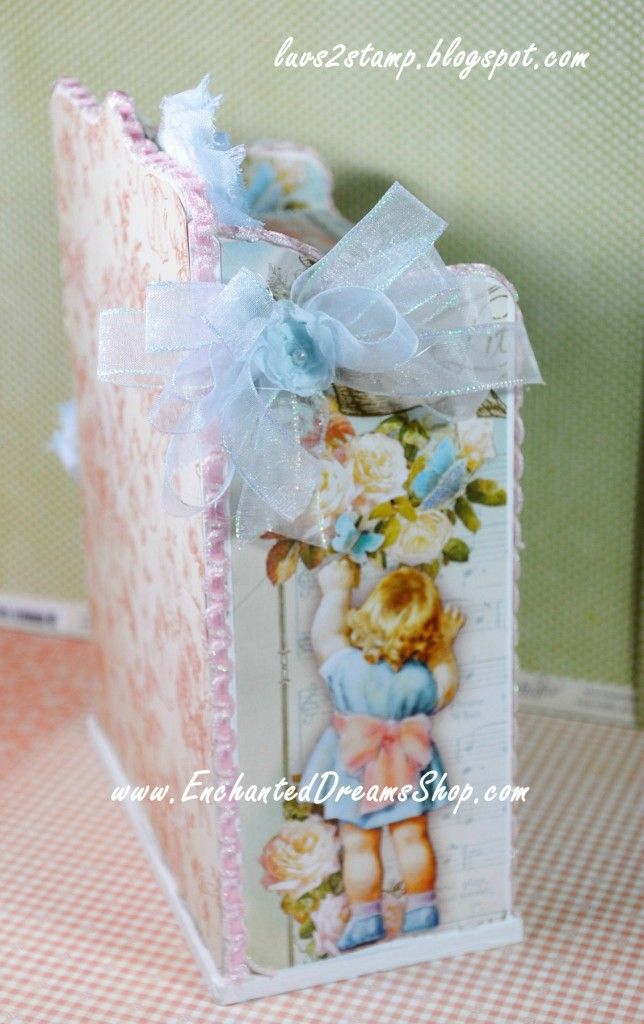
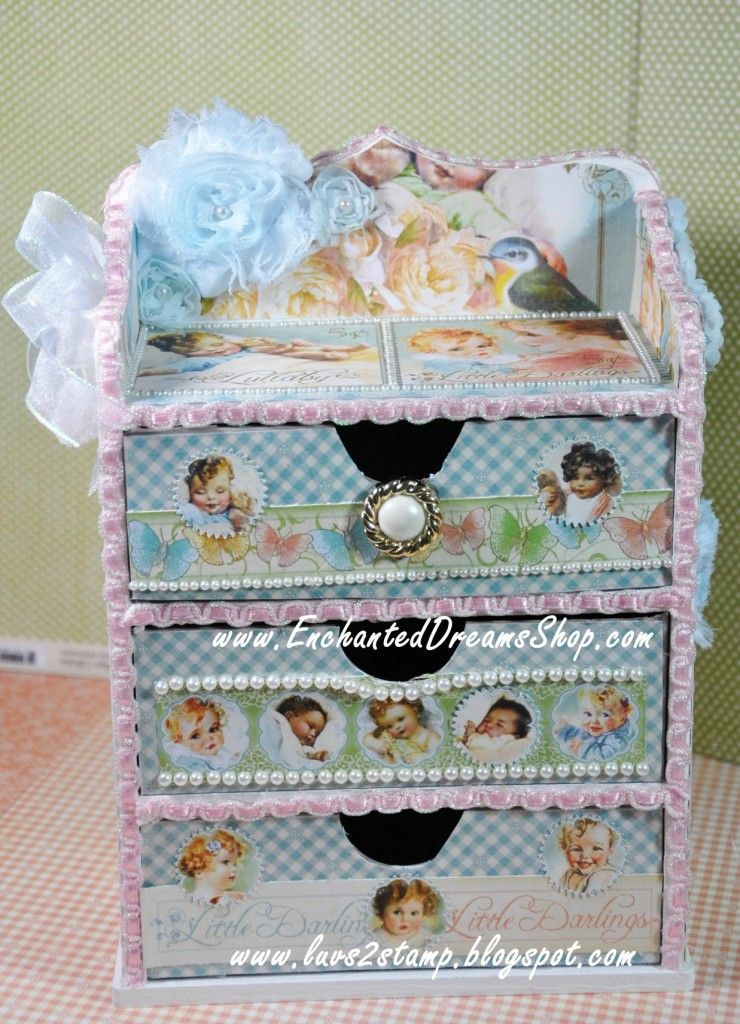
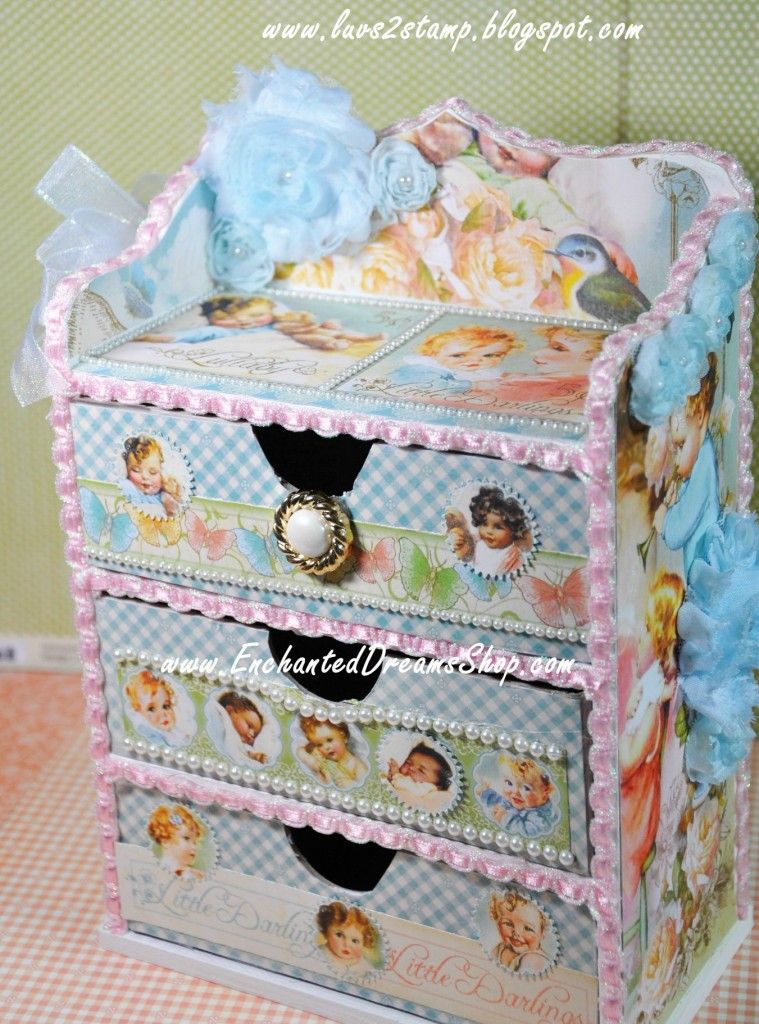
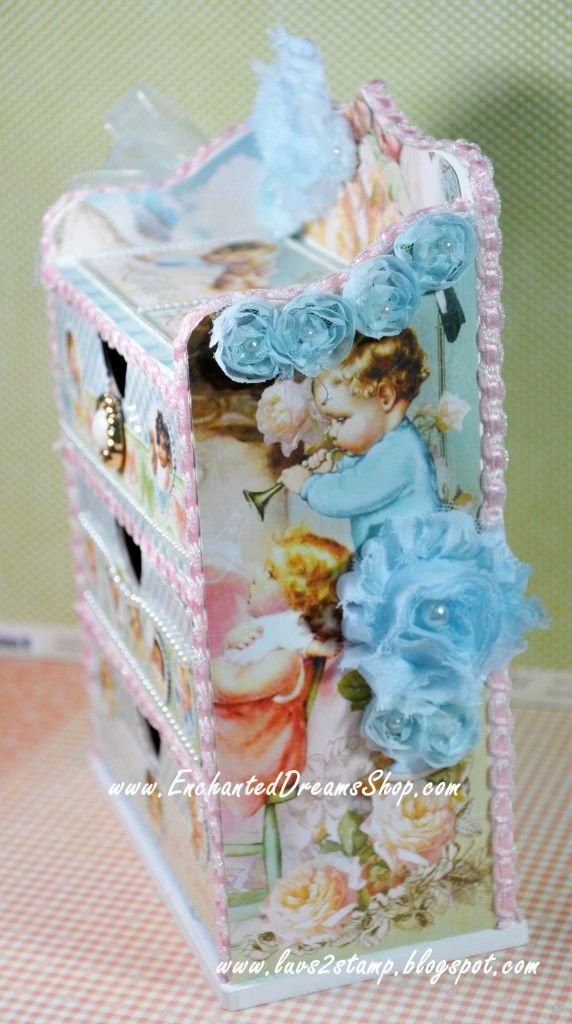
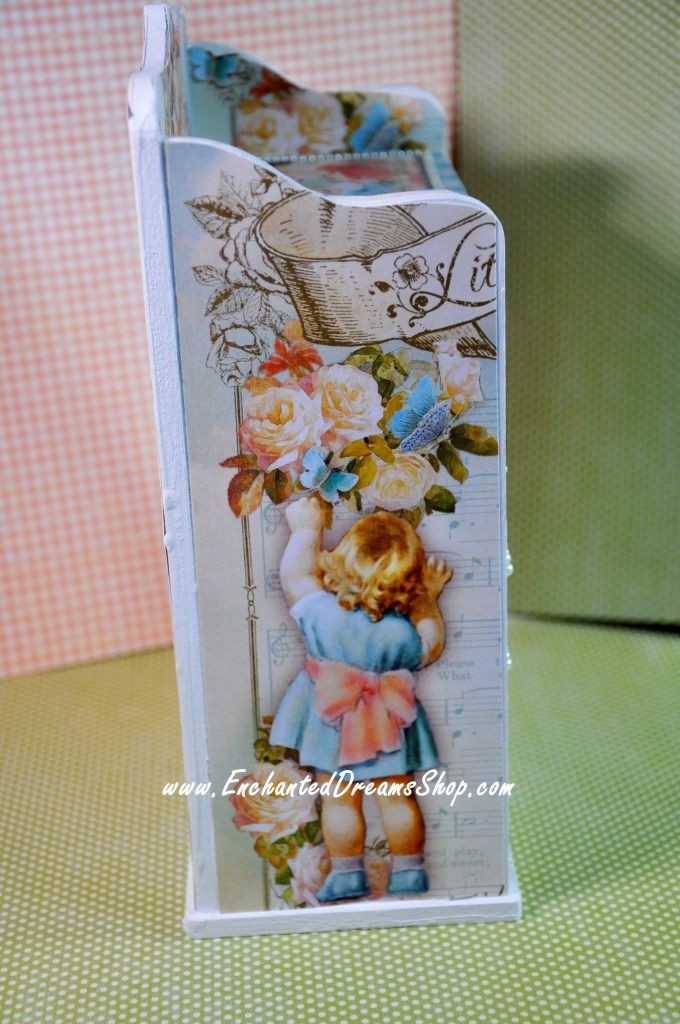
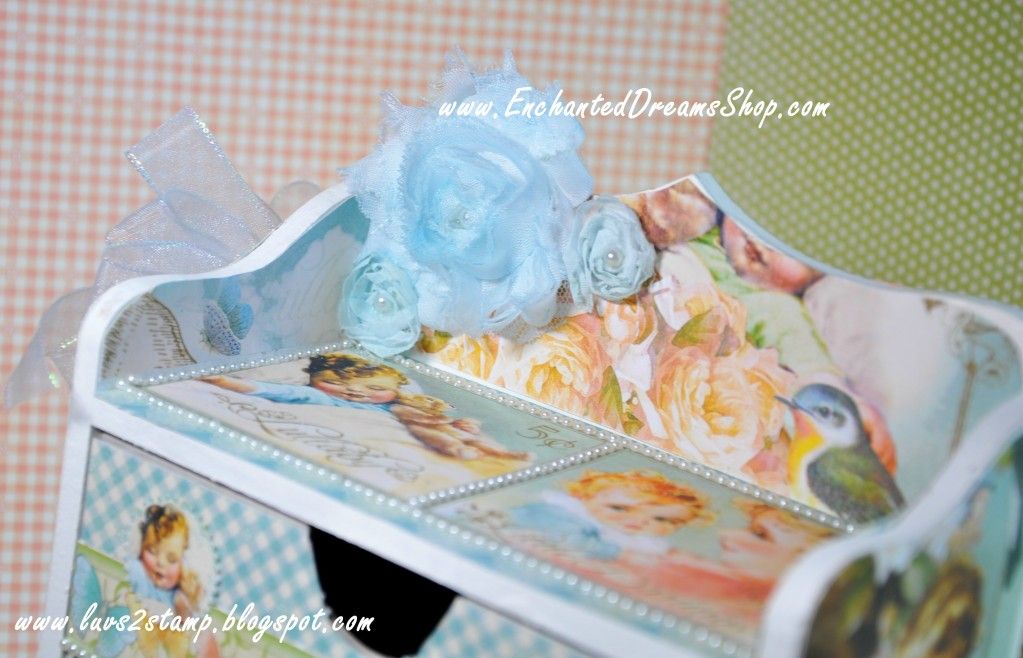
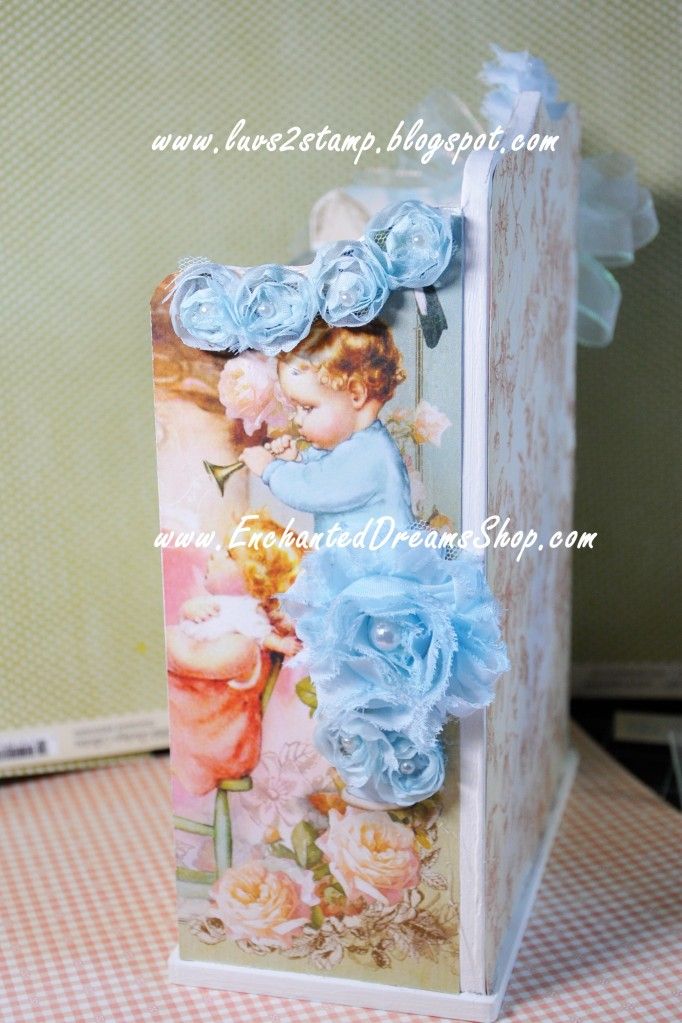
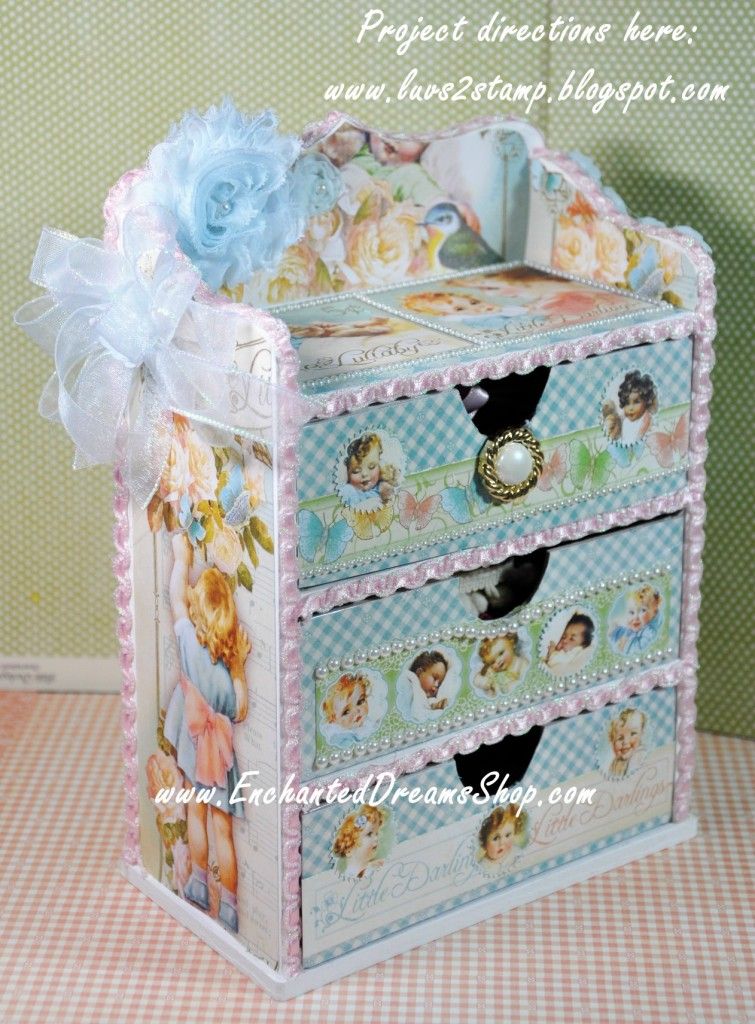
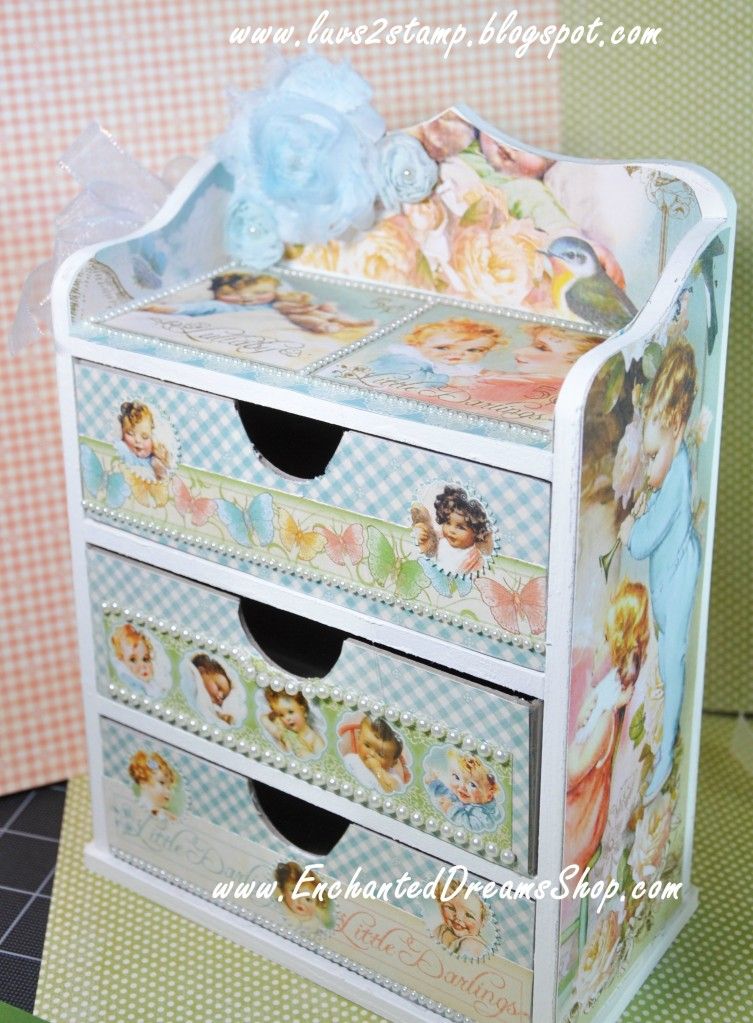
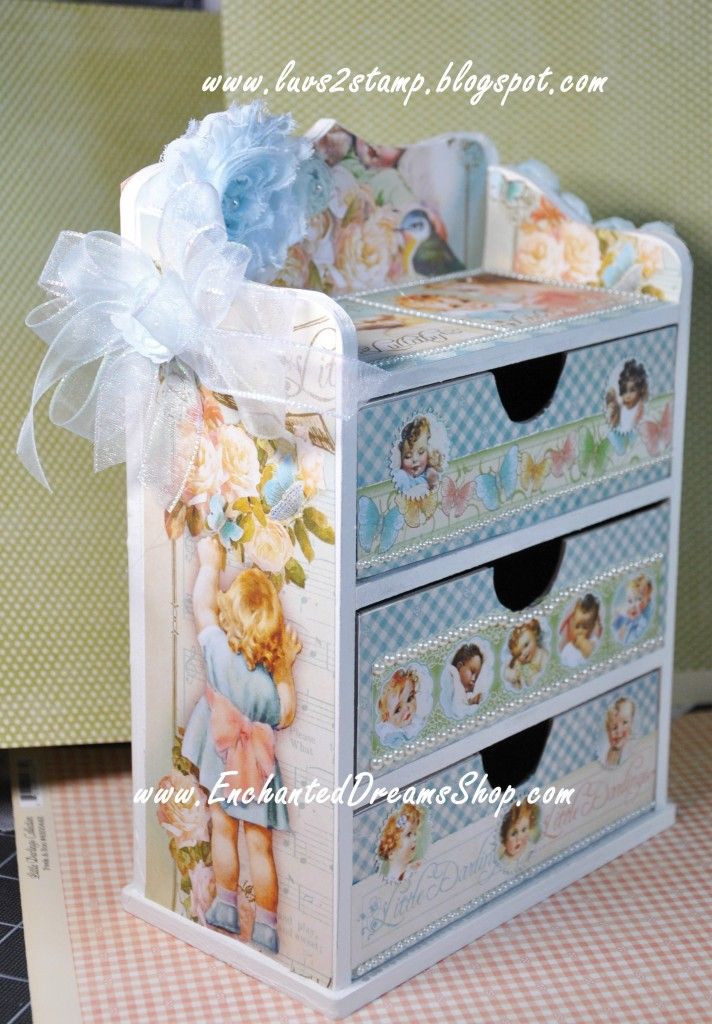
Update:  I added some ribbon!!  Here are the finished photos--  look below for project directions.  :)


Photobucket Photobucket Photobucket Photobucket Photobucket

I had such a good time playing with these papers by Graphic 45!  The papers are from the Little Darlings collection.  They are so adorable!
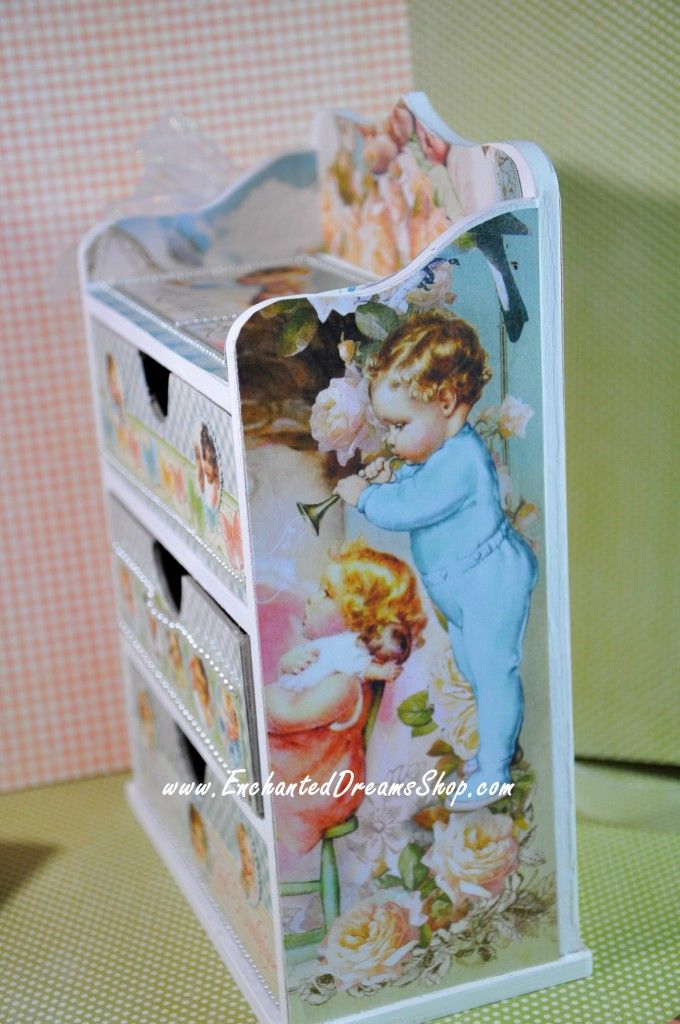
Photobucket PhotobucketFirst, I painted this little chest of drawers by Kaisercraft.  I then covered and decorated the drawers and the outside of the chest. I embellished the front of the drawers with pieces of the borders paper and pearls from want2scrap.


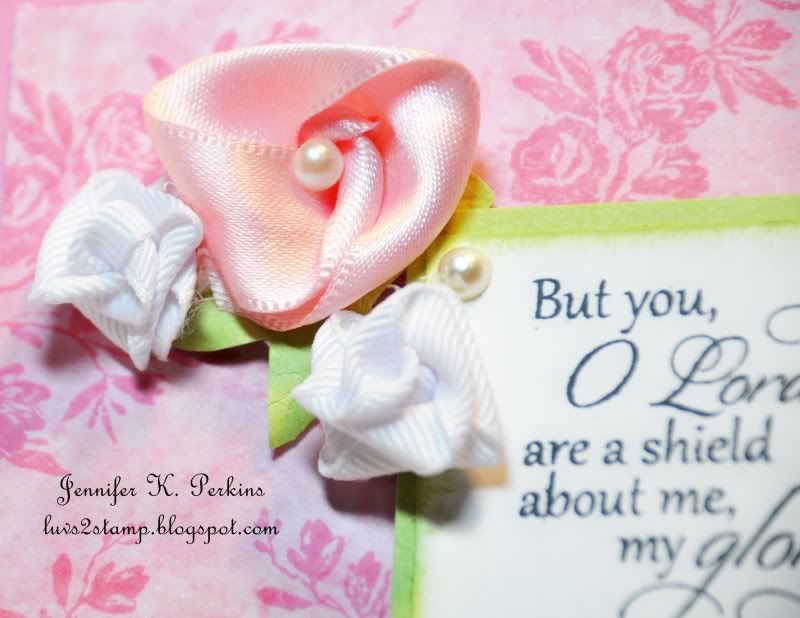
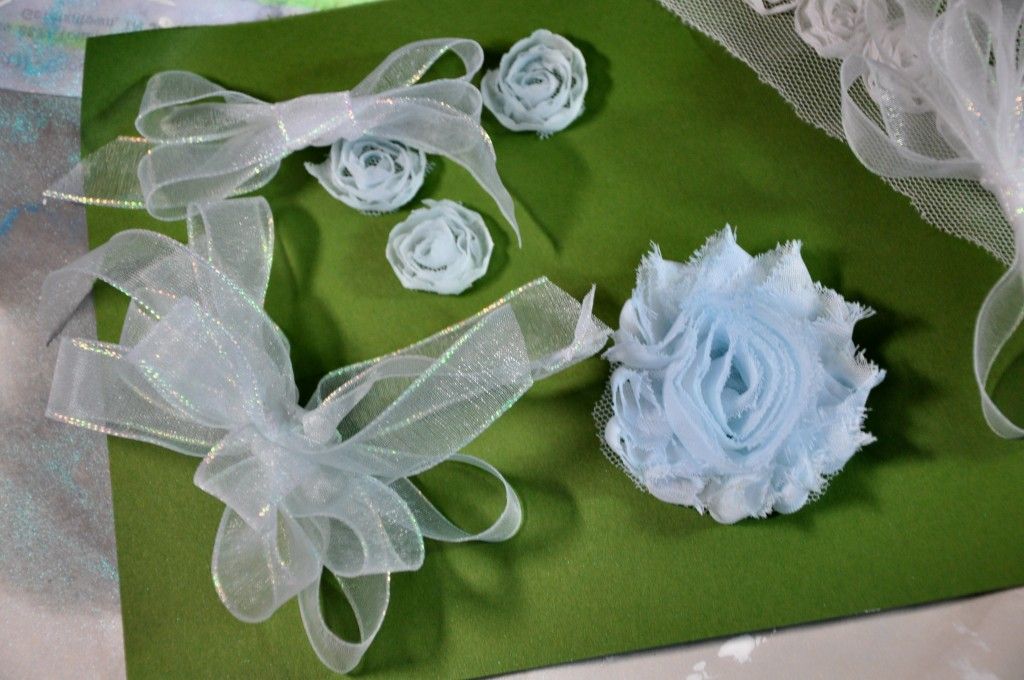
Next, I wanted to add a 3-D effect with some ribbon and fabric flowers.  I started  with white, but I wanted a bit of color; so I decided to mist them with Perfect Pearl Mist - Turquoise from Ranger.  I love these mists.  You can spray lightly for a pastel effect, or more heavily for a darker shade, and I love the glitter sparkle when they dry.  :)
Photobucket
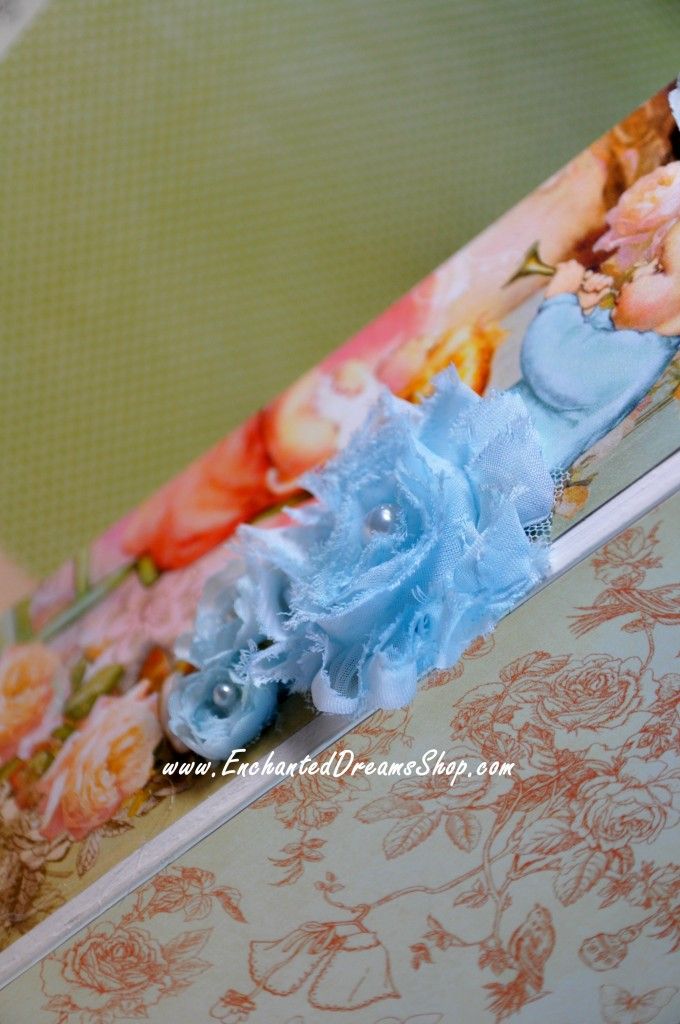
Photobucket I dried them with my embossing gun (gotta love versatility!  ~just be careful not to get too close, the mesh melts!)  Then I glued a little pearl inside to dress them up a little more.
Photobucket Photobucket Photobucket Photobucket

After seeing the flowers, I decided to mist my ribbon bow, too.  Perfect match!  I love when my experiments work!  :)

So what do you think?  It was all pretty easy...  do you think you'll try it?
Photobucket Photobucket Photobucket
Oh, and I carry these products in my Shop -  Home

Photobucket Graphic 45 Little Darlings -- Graphic 45
 
Photobucket Perfect Pearl Mists - Turquoise  - Ranger
Photobucket Want2Scrap Sleek Strips - Pearls  - Want 2 Scrap
  Photobucket

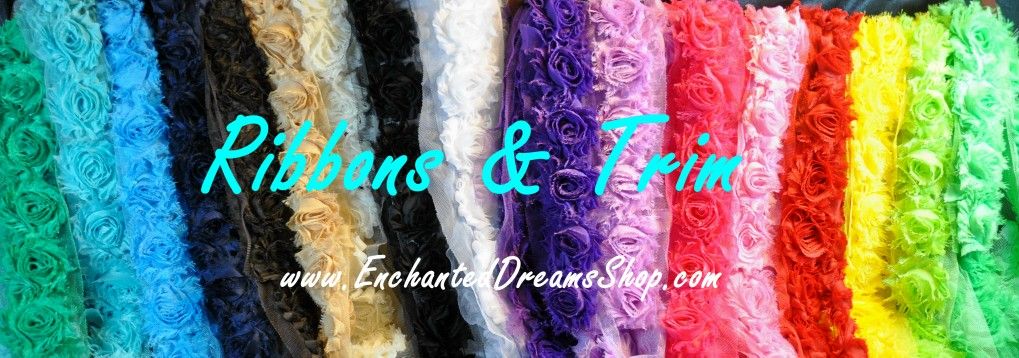
Here are a few flowers I have for sale here:  Ribbons and Trim

Friday, June 8, 2012


Photobucket

I've finally found directions for paper roses that are EASY and FUN to create! I just started making these yesterday, and already feel like a pro. I hope I can share the directions with you well enough for you to make them as well!

Begin with a square piece of paper. The little flowers were made with 4" x 4" paper. The large rose was made with an 8" x 8" sheet.

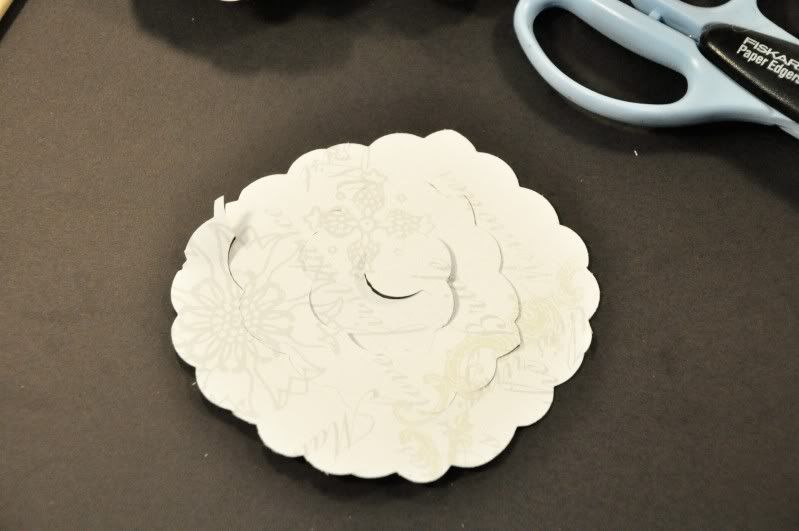
Cut the edges off so that it makes a circle.

Photobucket

Starting from the outside of your paper circle, cut into a spiral. When finished, it should look like this:

Photobucket

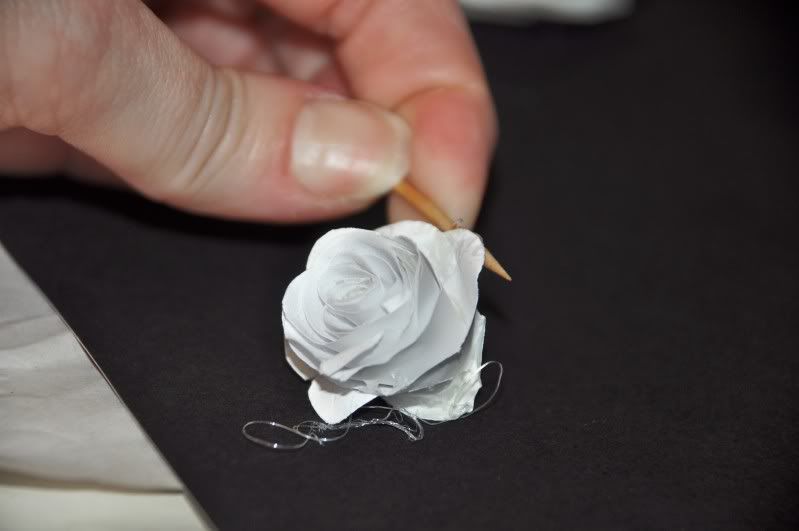
Though this picture shows me rolling the edges of the flower after I have glued it down, I have found it is easier to roll the edges of your spiral before you begin rolling. ~Use your toothpick to help you roll the edges of your flower down.

Photobucket

Starting at the outside edge, begin rolling towards the middle. A toothpick works great to get you started. I've also found that placing a bit of monoadhesive about 1/2" from the end will help hold the center of the flower tight. My flowers look better since I started doing this.

Photobucket

(The picture shows me using a skewer to roll... it turned out to be too big!)

Continue rolling until you reach the center of your circle.

Photobucket

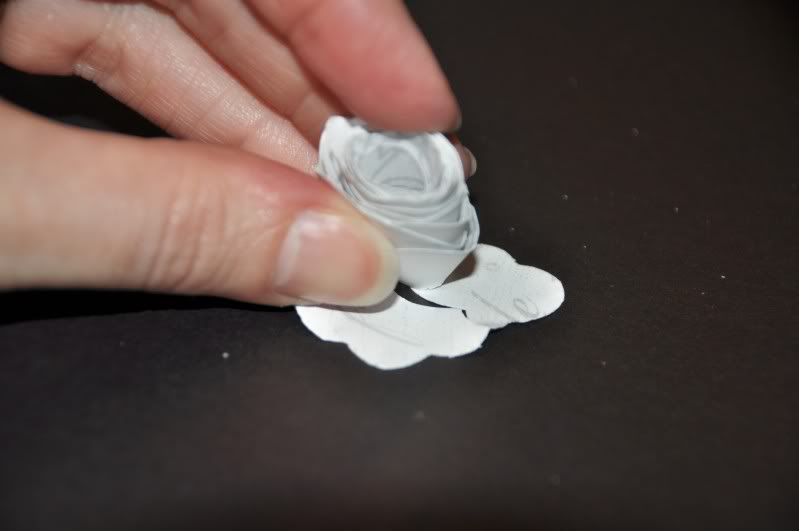
Still holding onto your flower, flip the end up and squirt glue into the center of the bottom of the flower.

Photobucket

Press quickly to the center of the circle and allow the ends to unroll slightly. Add more glue as needed to hold the desired shape.

Photobucket

You're finished! Add your color and bling or use as is to decorate your cards!


Photobucket


Photobucket


Well... I couldn't stop with JUST paper roses! They needed a little bling. Here is a recipe for home made glimmer mist:

Glimmer mist

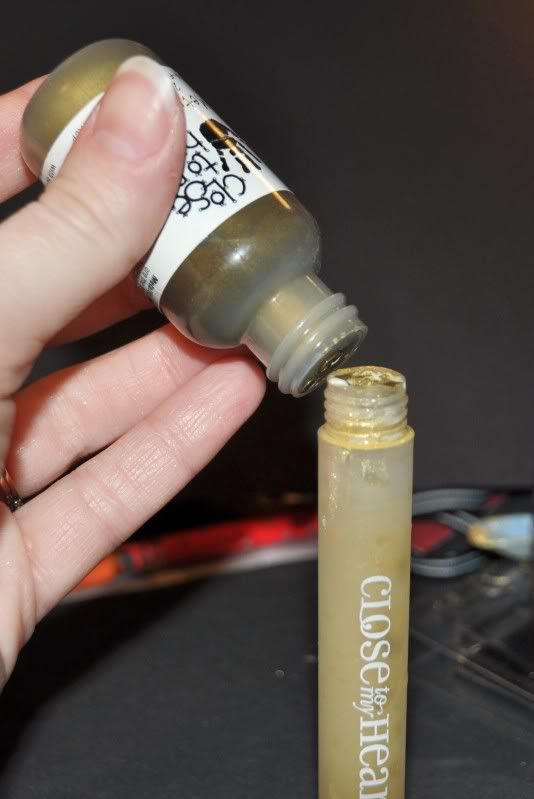
1. Fill CTMH spritzer 3/4 way with water.

Photobucket

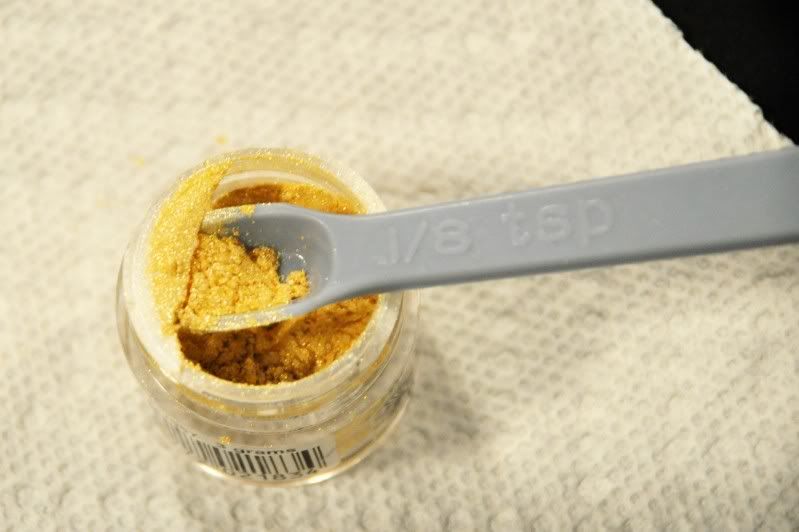
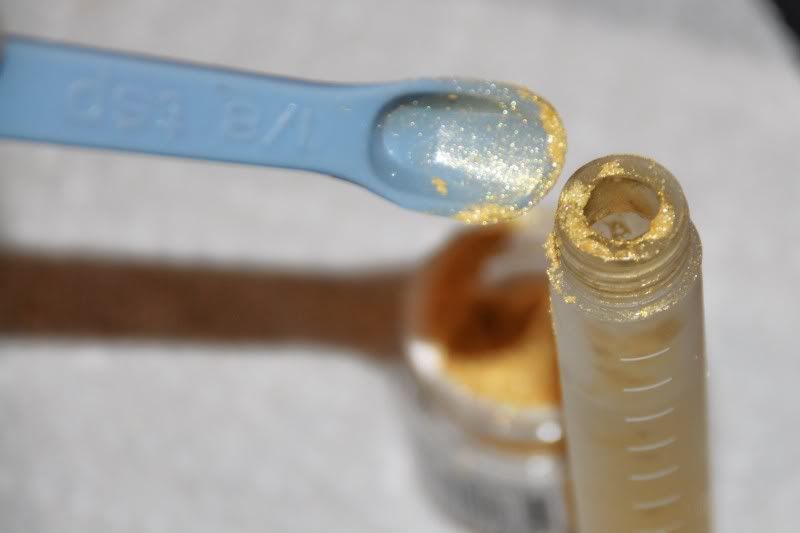
2. Add about 1/16 of a teaspoon of pearl ex.

Photobucket

Photobucket

3. Add 2-3 drops of glue.

Photobucket

4. Add 3-4 drops of reinker (or more to reach your desired shade)

Photobucket

5. Shake well.

Photobucket

6. Spray!
Photobucket

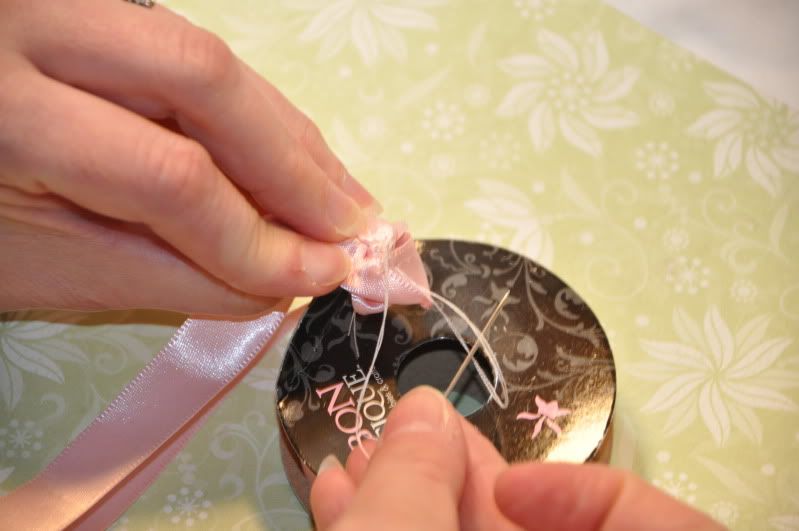
Thread a needle with matching thread, knot the bottom, and set aside.

Photobucket

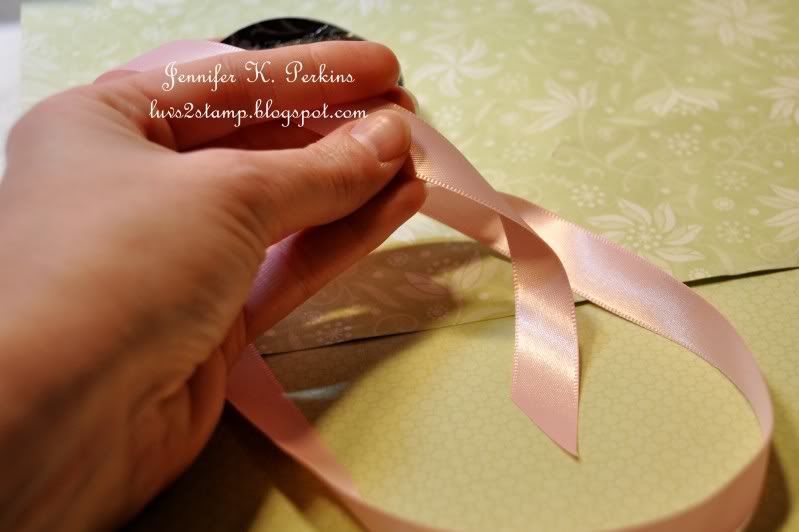
Unroll about 12" of ribbon. You can work with it still attached to the roll to conserve ribbon.

About 6" in, fold the ribbon at a 45° angle. It should look like an L.

Photobucket

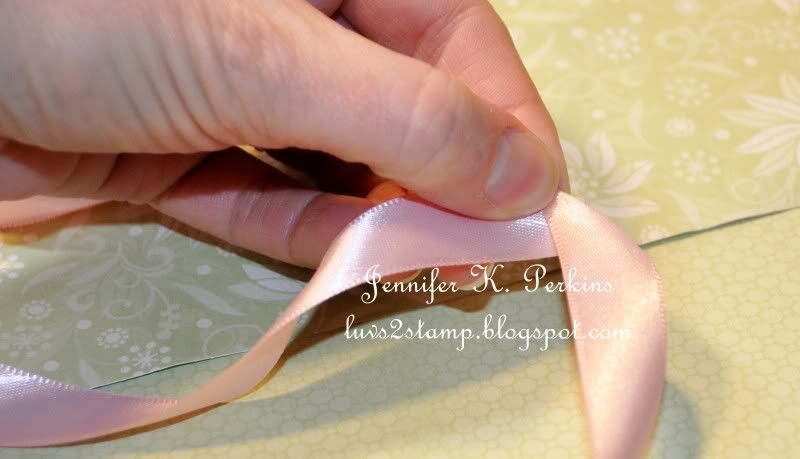
Next, fold the other side of the ribbon across the middle, again in a 45° angle.

Photobucket

Continue folding the ribbons across each other until you come to the end of cut side of the ribbon.

Photobucket

Photobucket

Here is the other side of the folded ribbon.

Photobucket

And the side view.

Photobucket

Photobucket

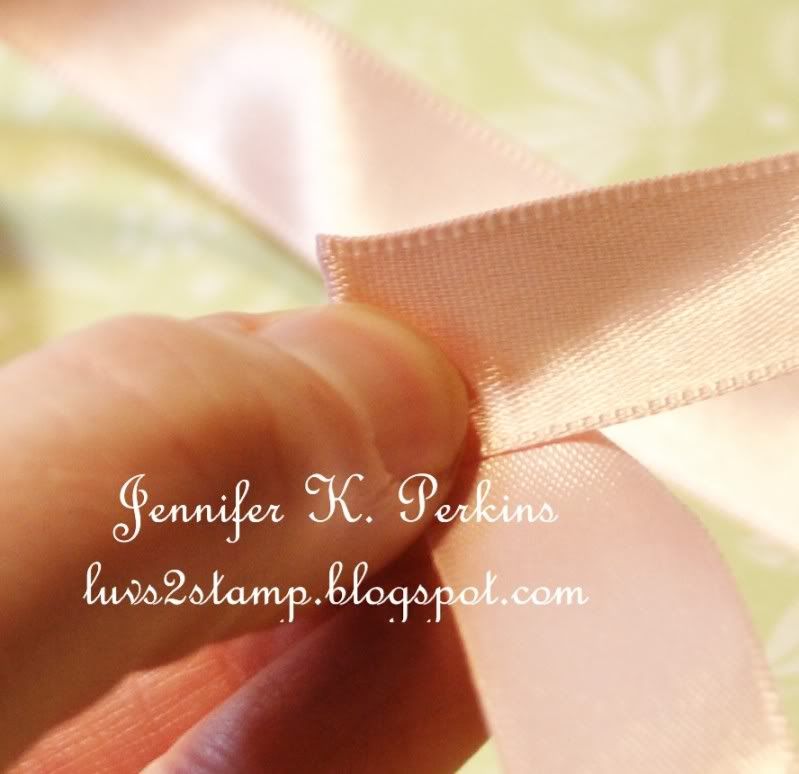
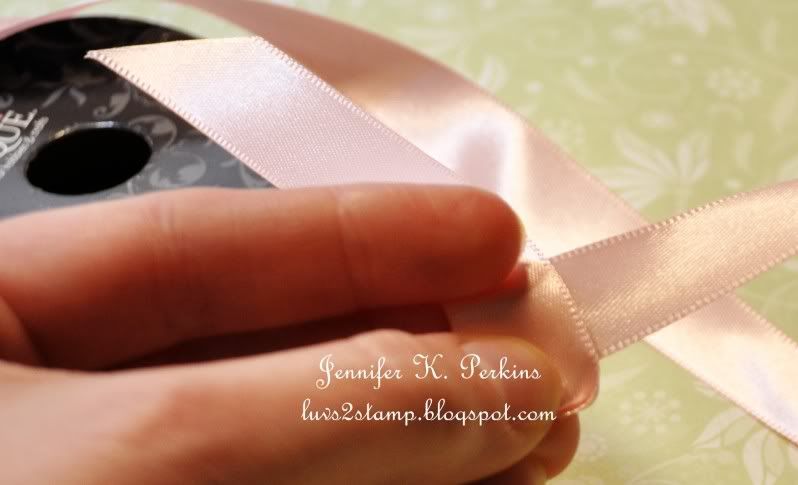
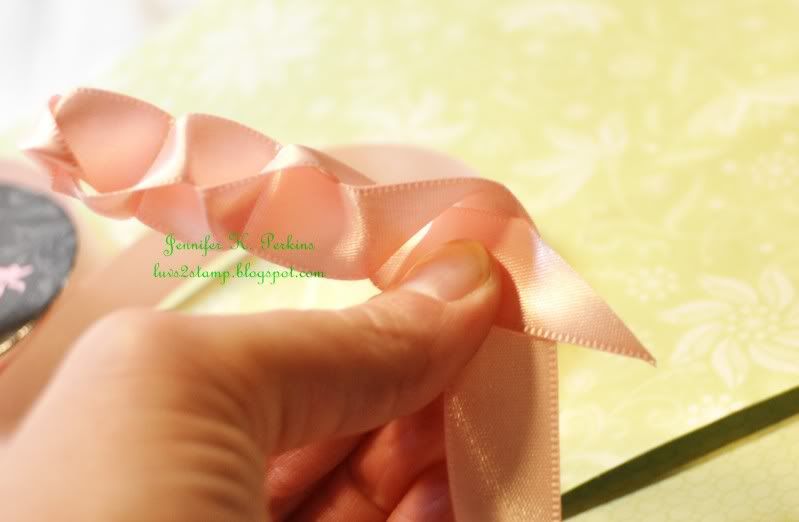
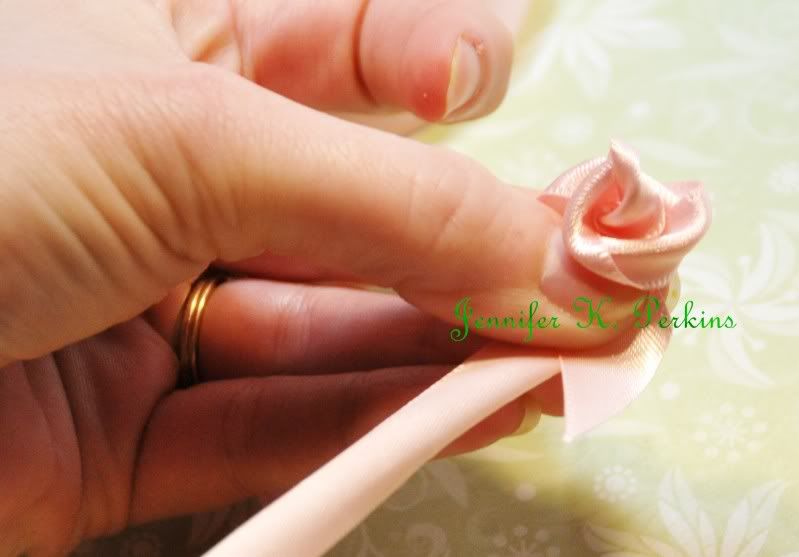
Grasp the ribbon with your thumb in up in the corner of the ends of the ribbon folds, with the short end on top.

Photobucket

Grasp the long end of the ribbon with your other hand.

Photobucket

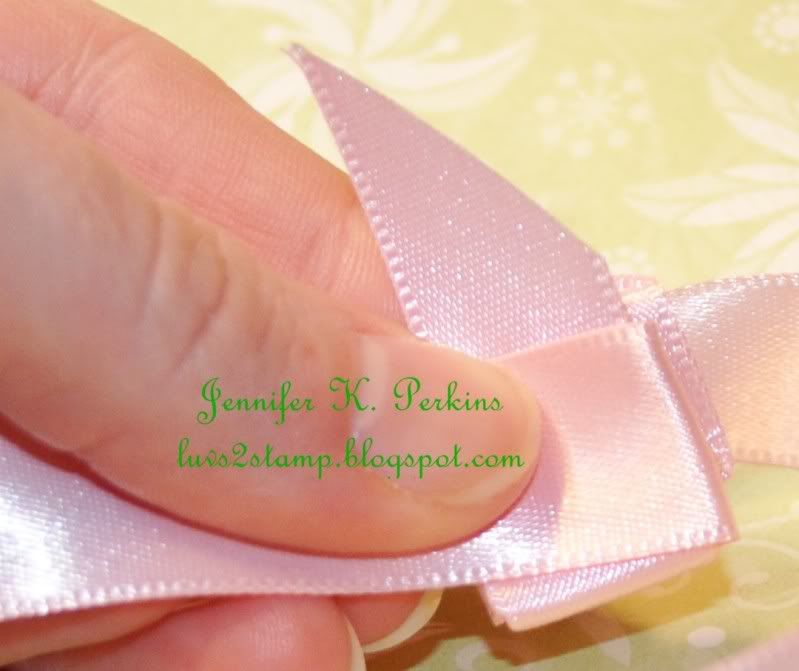
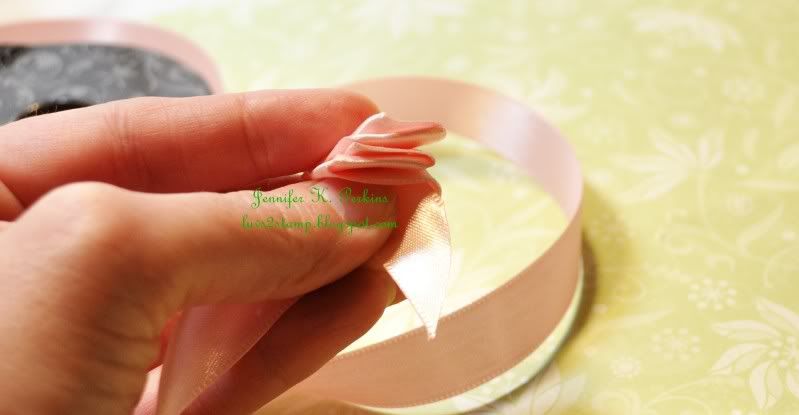
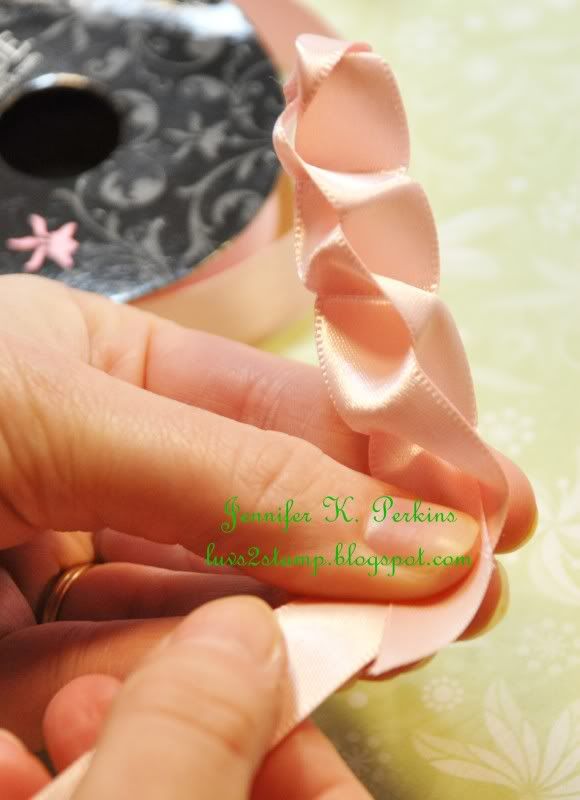
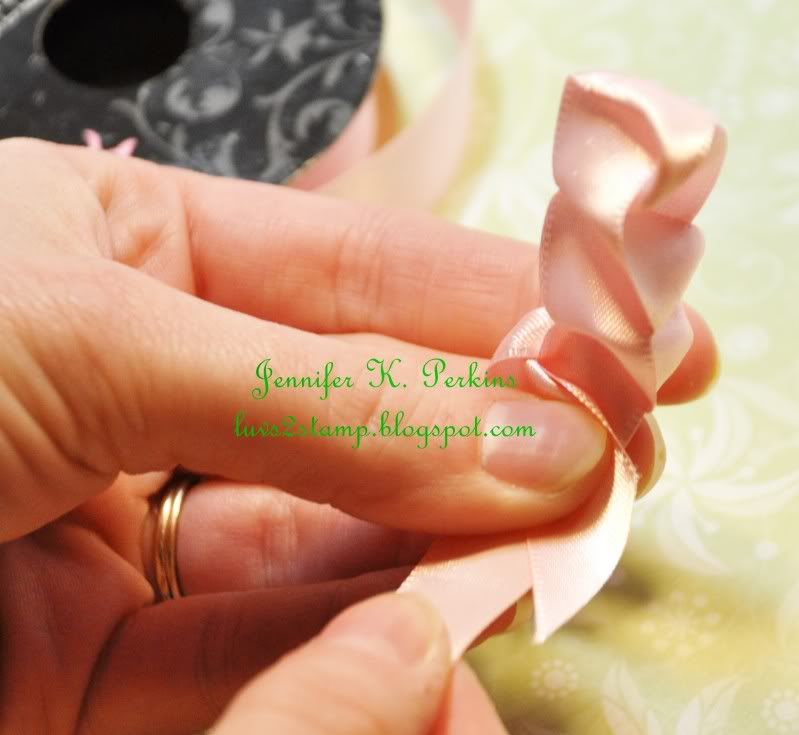
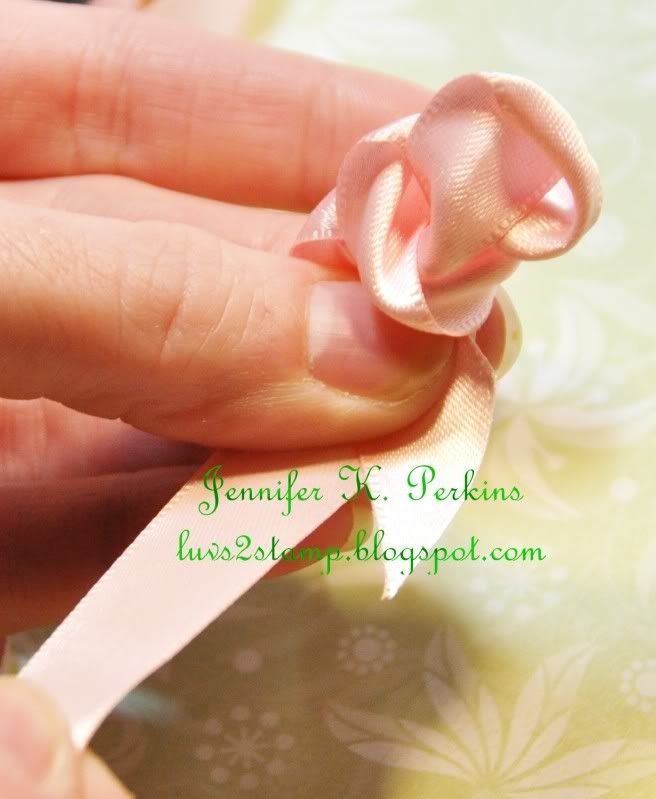
Pull the long end of the ribbon, while holding the short end in place.

Photobucket

Photobucket

Photobucket

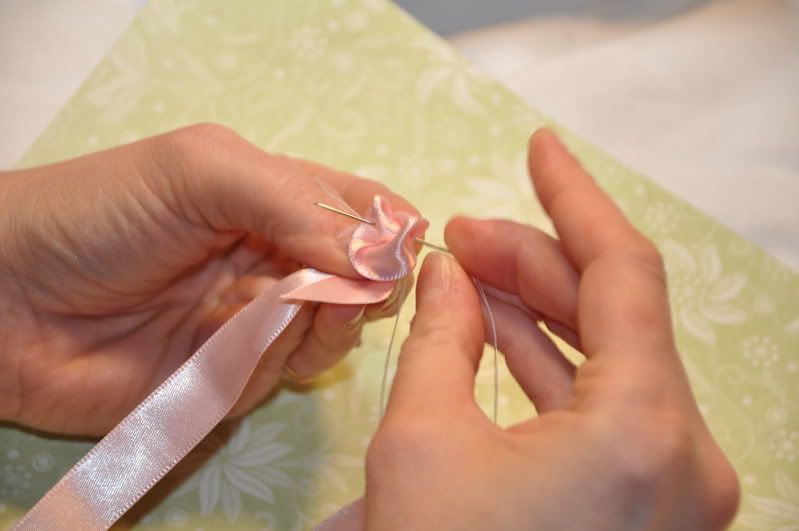
Insert your needle into the middle of your ribbon flower and draw from top to bottom.

Photobucket

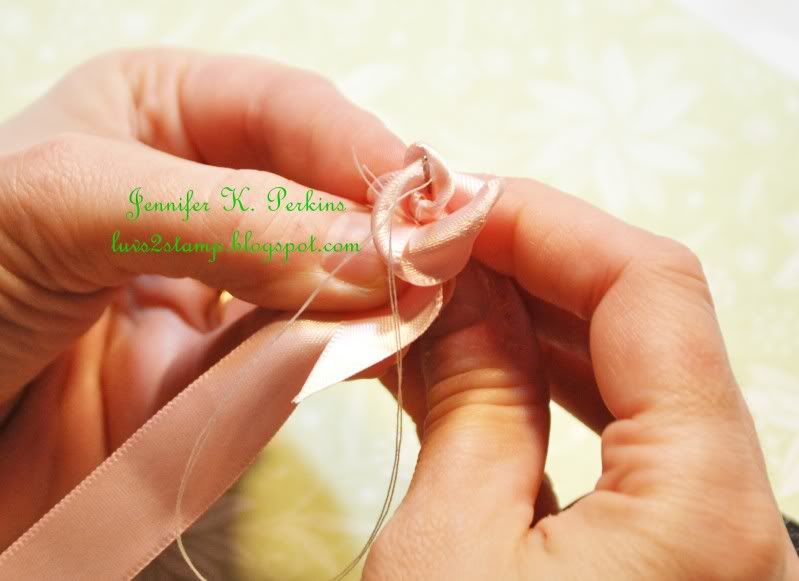
Continue stitching through your flower for several stitches, bottom to top, then top to bottom, being careful to catch all the folds of the flower to secure it.

Photobucket

End on the bottom of the flower. Knot thread and clip off the ends.

Photobucket

Secure to project. (I use hot glue.)

Photobucket

Photobucket

sketchy thursdays

ths mama

tip junkie

Craft DIY Ideas

sweet verbena

Photobucket”>

cluck cluck sew

the creative place

sew much ado

mini punks

LivingwithPunks

diary of a quilter

Diary of a Quilter

running with scissors

me making do

Bells and Whistles

Belles 'n Whistles

big red scraps

verve badge

amazama