text


Thanks for looking and if you have time, I LOVE your comments!
Have a great day, and happy crafting. ~Jennifer

background

email text


Follow me by email:

ETSY

Enchanted Dreams

Wednesday, February 23, 2011

February SOM


Photobucket


I created this card using CTMH's Feb som. The colors used are Black, White, and Twilight. The sentiment is stamped in versamark ink, then in black, and then embossed.

Photobucket

Photobucket

Thanks for looking!

Tuesday, February 22, 2011

Faith


Photobucket

Photobucket

Photobucket

Photobucket

This card is for this week's Mojo Monday Challenge. Colors are Sweet Leaf and Twilight, B&T papers are from emporium. I used the 2" scallop punch under the sentiment to make it pop, but I had to cut it apart.

Photobucket

The sentiment is from Faith Hope Charity. The sparkles are the blue and green assortment from CTMH.

Thanks for looking!

Sunday, February 20, 2011

Yo Yo flowers


Photobucket


This card's papers are CTMH Sweet Leaf and Blush. The Blush B&T is from an old pack of Floral Tapestry. The Sweet Leaf papers are from the Emporium B&T paper pack. The sentiment is SU's Elements of Style.

Photobucket

Photobucket

Photobucket

Saturday, February 19, 2011

Butterflies


Photobucket

Photobucket

I love how this card turned out! The colors are CTMH Sweet Leaf and Blush. The Blush B&T is from an old pack of Floral Tapestry. The butterflies are from the stamp set Find Your Style, JAN 2011 SOM set.

Photobucket

The butterflies are stamped twice. To get the top butterfly shiny, I first stamped in Versamark, then in Blush, then the edges are rolled in Sweet Leaf inks. Next, I added clear embossing powder and heat set. I bent the wings and mounted with foam adhesive over the flat butterflies to give a 3D effect.

Photobucket

Photobucket

There is a tutorial for the roses here:

http://luvs2stamp.blogspot.com/2011/02/paper-roses-tutorial.html


Thanks for looking!

Friday, February 18, 2011

Bliss


Photobucket

Photobucket

I made this card for this week's Mojo Monday challenge. The sentiment is from Stampin Up's Bliss stamp set, the green paper is from CTMH's Emporium B&T paper pack, and the rose paper is from Crafty Secrets Vintage papers.

Wednesday, February 16, 2011

Love You Forever


Photobucket

Photobucket

I created this card for this week's Mojo Monday Challenge. Papers are CTMH's Emporium, colors are CTMH's Sweet Leaf and Crystal Blue. Sentiment is from Papertrey.

Thanks for looking!

Saturday, February 12, 2011

Valentines for my girls...


Photobucket

Photobucket


Photobucket

Photobucket

Friday, February 11, 2011

You're Adored Valentine


Photobucket

Photobucket

Paper is from CTMH That's Amore B&T Level 2 paper pack. Stamps are You're Adored.

There is a tutorial on the paper roses in the previous post. Happy Stamping! :o)


Paper roses tutorial, Glimmer Mist recipe


Photobucket

I've finally found directions for paper roses that are EASY and FUN to create! I just started making these yesterday, and already feel like a pro. I hope I can share the directions with you well enough for you to make them as well!


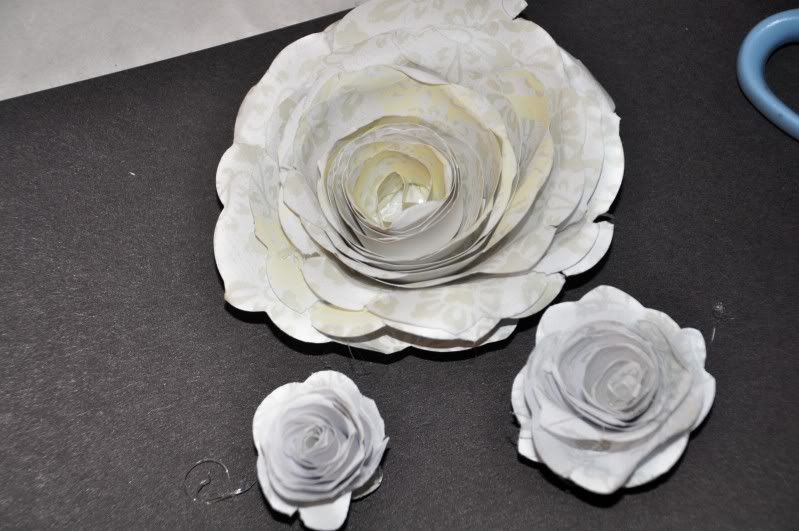
Begin with a square piece of paper. The little flowers were made with 4" x 4" paper. The large rose was made with an 8" x 8" sheet.

Cut the edges off so that it makes a circle.

Photobucket

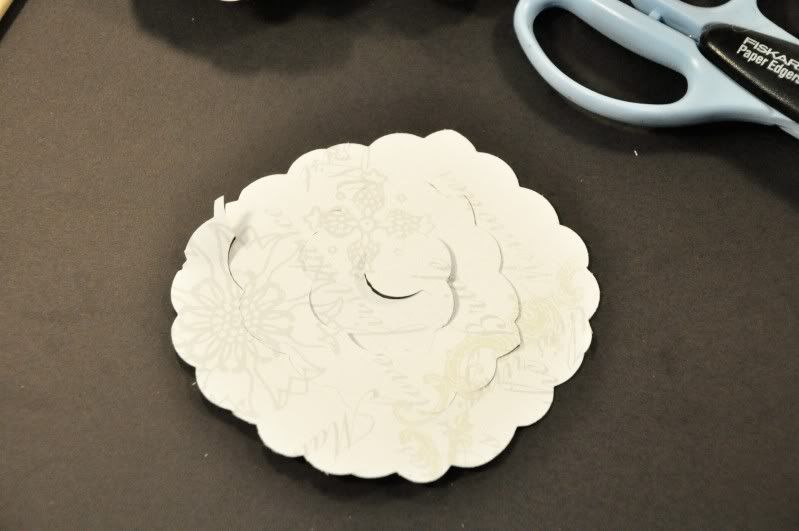
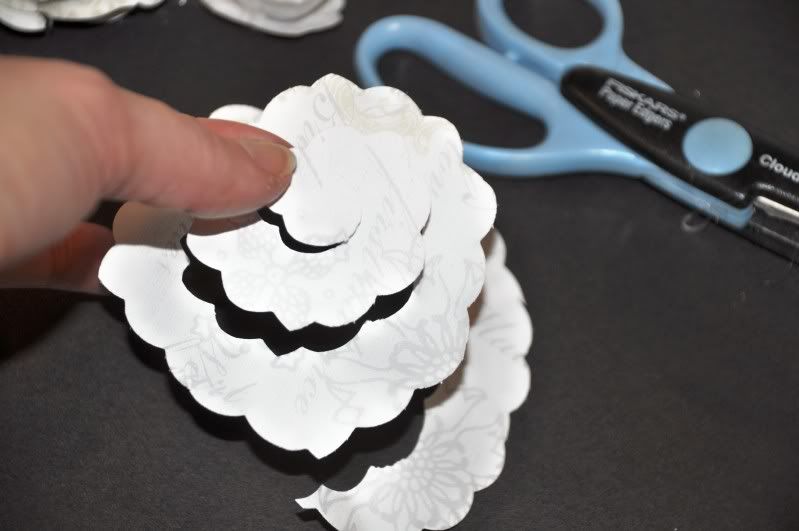
Starting from the outside of your paper circle, cut into a spiral. When finished, it should look like this:

Photobucket

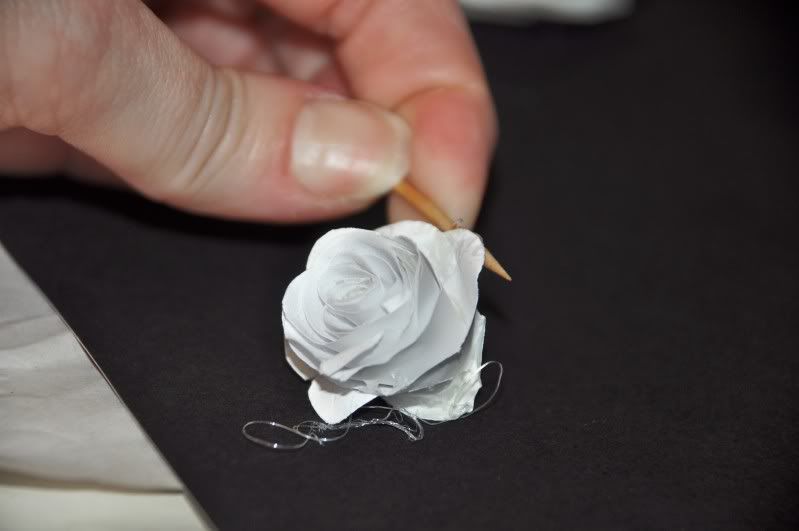
Though this picture shows me rolling the edges of the flower after I have glued it down, I have found it is easier to roll the edges of your spiral before you begin rolling. ~Use your toothpick to help you roll the edges of your flower down.

Photobucket

Starting at the outside edge, begin rolling towards the middle. A toothpick works great to get you started. I've also found that placing a bit of monoadhesive about 1/2" from the end will help hold the center of the flower tight. My flowers look better since I started doing this.

Photobucket

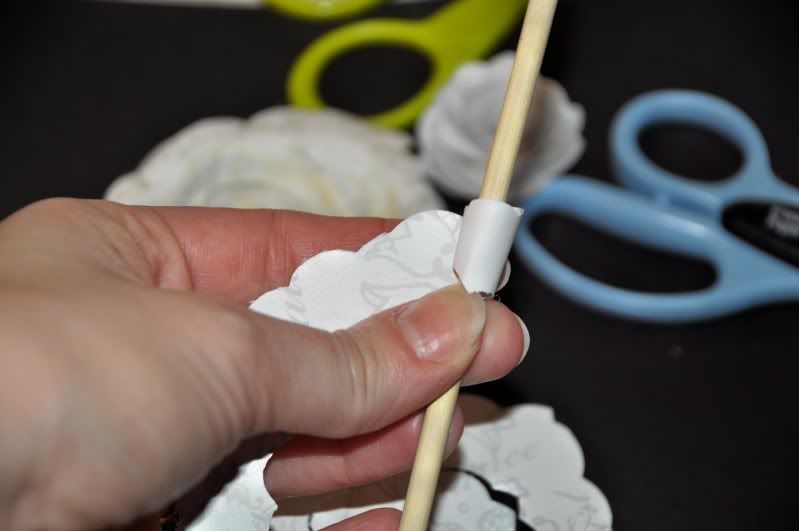
(The picture shows me using a skewer to roll... it turned out to be too big!)

Continue rolling until you reach the center of your circle.

Photobucket

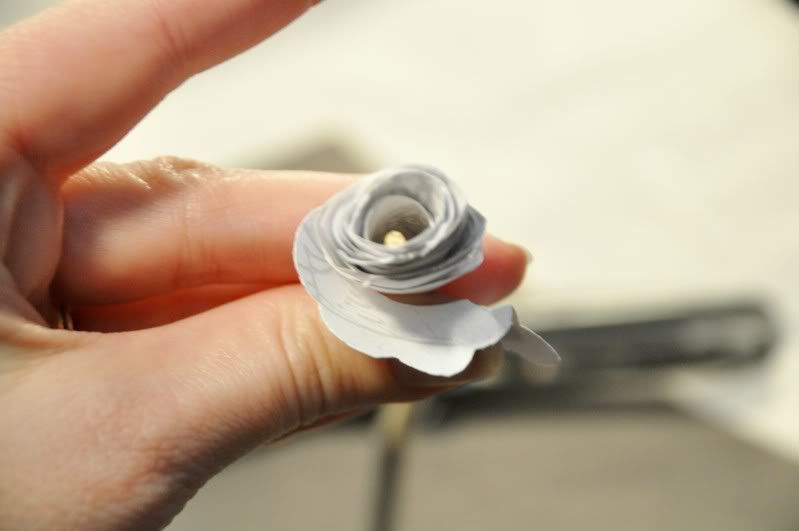
Still holding onto your flower, flip the end up and squirt glue into the center of the bottom of the flower.

Photobucket

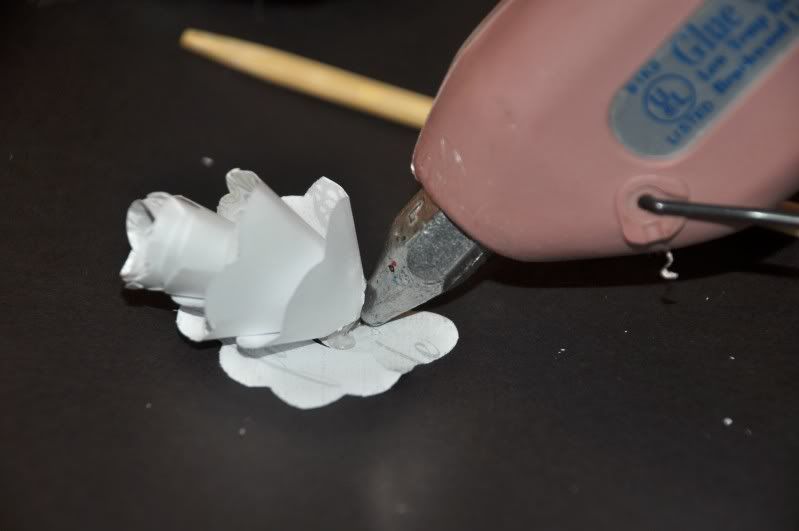
Press quickly to the center of the circle and allow the ends to unroll slightly. Add more glue as needed to hold the desired shape.

Photobucket

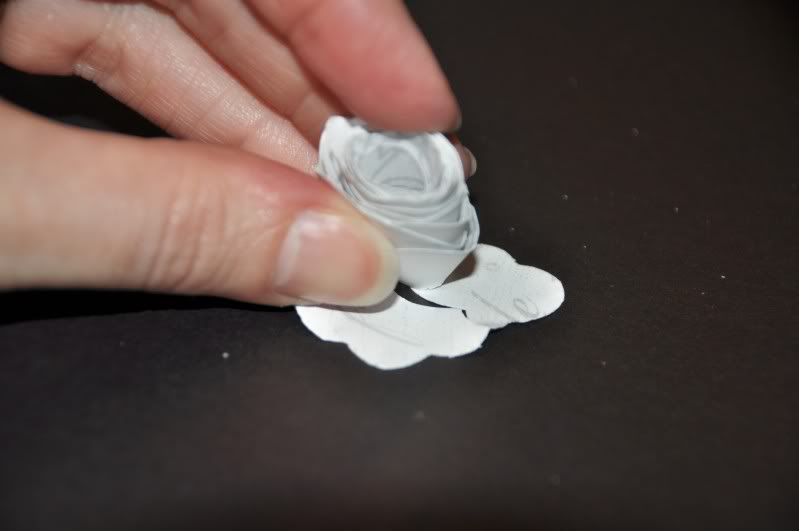
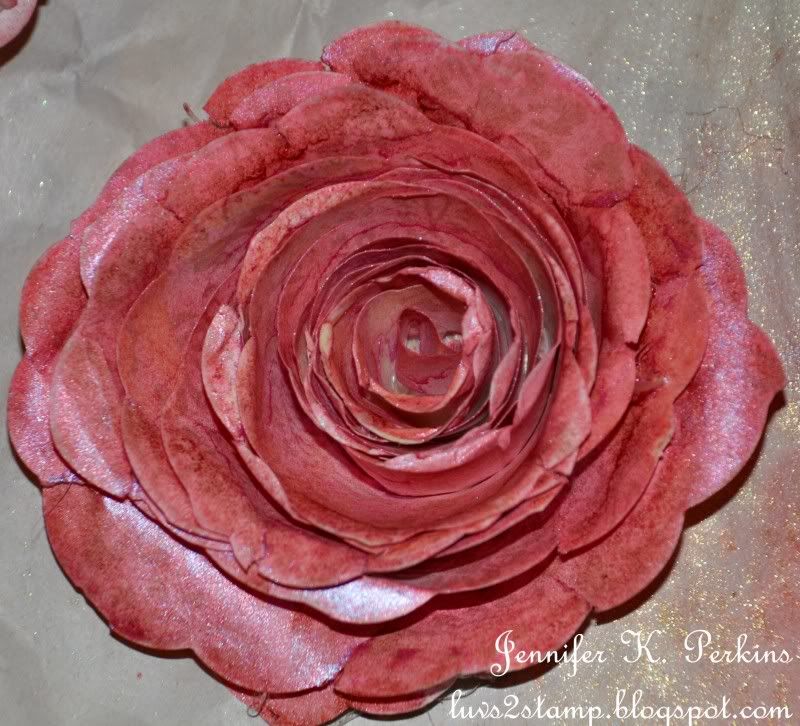
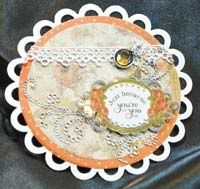
You're finished! Add your color and bling or use as is to decorate your cards!


Photobucket


Photobucket


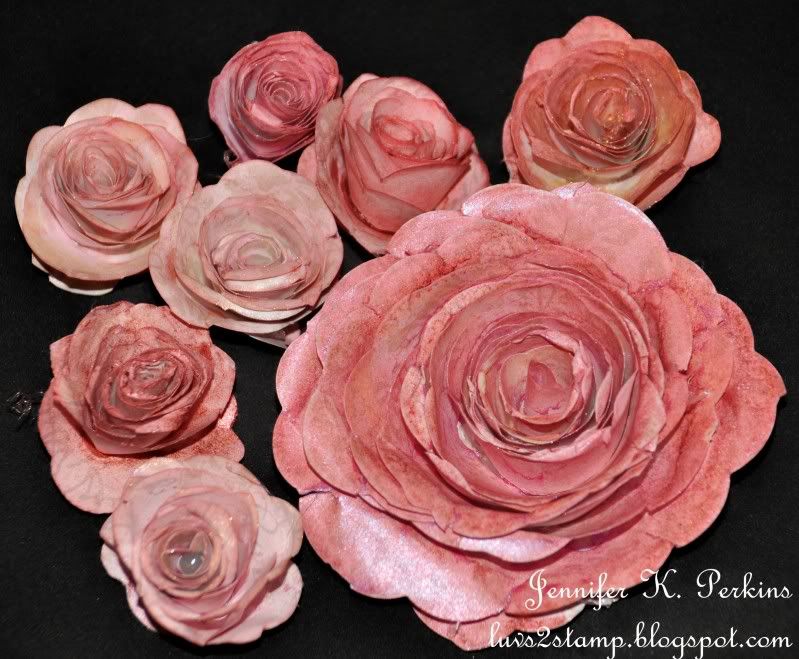
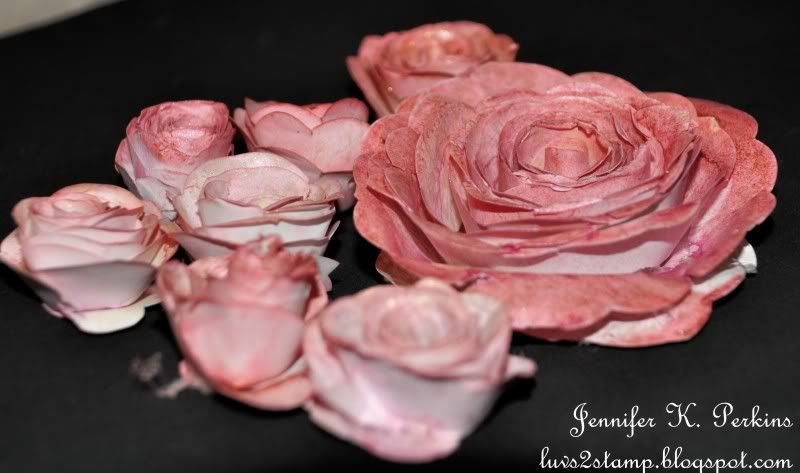
Well... I couldn't stop with JUST paper roses! They needed a little bling. Here is a recipe for home made glimmer mist:

Glimmer mist

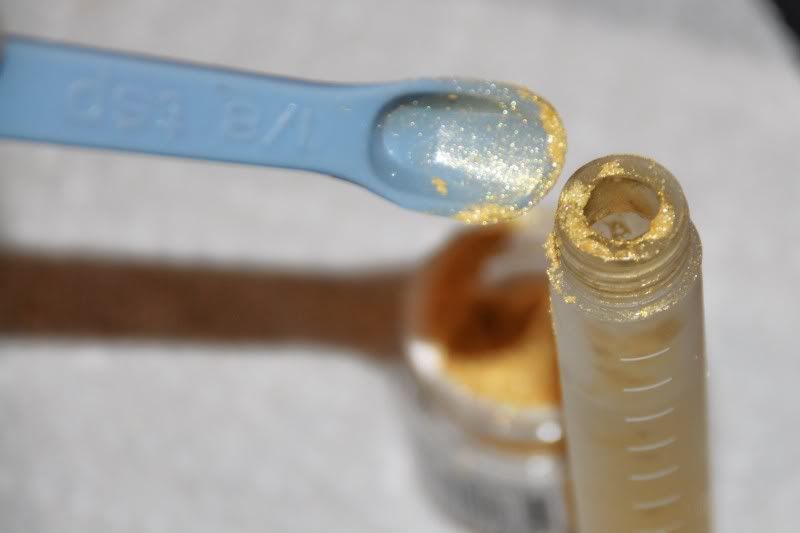
1. Fill CTMH spritzer 3/4 way with water.

Photobucket

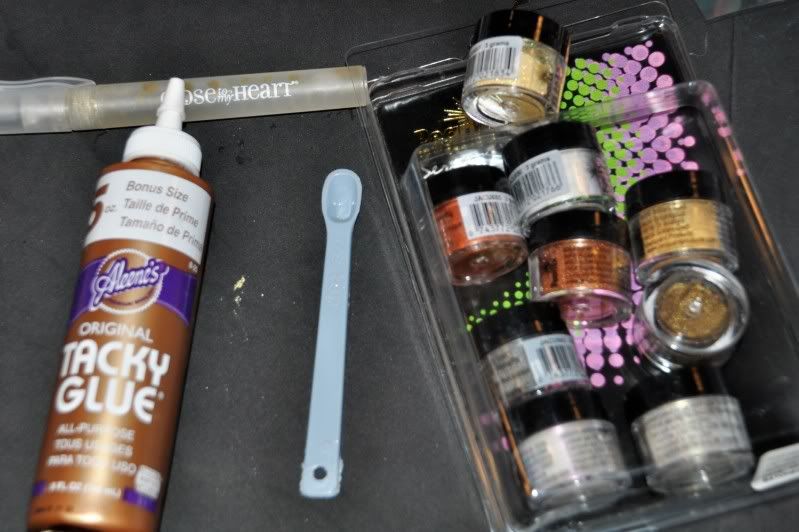
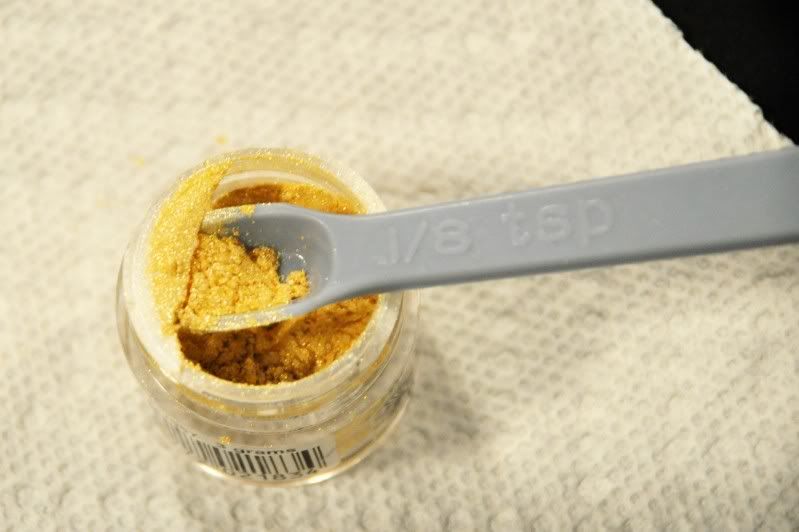
2. Add about 1/16 of a teaspoon of pearl ex.

Photobucket

Photobucket

3. Add 2-3 drops of glue.

Photobucket

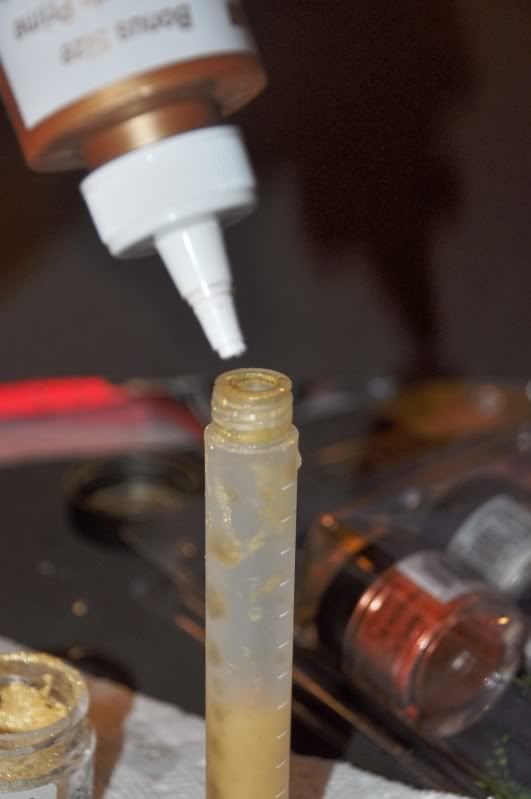
4. Add 3-4 drops of reinker (or more to reach your desired shade)
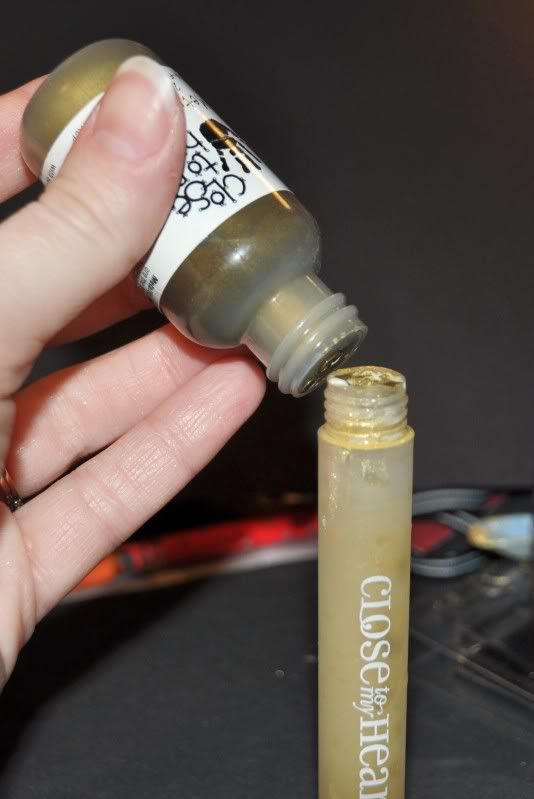
Photobucket

5. Shake well.

Photobucket

6. Spray!

Thursday, February 10, 2011

Always in my heart


Photobucket

This card is created with CTMH D1473 Two Step Backgrounds and D1245 In My Heart.

Monday, February 7, 2011

Amore


Photobucket

Photobucket

Saturday, February 5, 2011

Valentine card again...


Photobucket

Photobucket

Valentine's day card


Photobucket


Valentine's day card for hubby...

Photobucket


sketchy thursdays

ths mama

tip junkie

Craft DIY Ideas

sweet verbena

Photobucket”>

cluck cluck sew

the creative place

sew much ado

mini punks

LivingwithPunks

diary of a quilter

Diary of a Quilter

running with scissors

me making do

Bells and Whistles

Belles 'n Whistles

big red scraps

verve badge

amazama